A while ago, I purchased a small CNC router for doing some small woodworking projects, and this was the very first one I wanted to complete!
The idea here is pretty simple, I wanted a set of house numbers that would illuminate at night, making it easier to see what the house number is. I wanted to use the CNC router to cut out the numbers from a piece of wood, fill the numbers with epoxy and make it just thin enough that some backlighting will be able to show through it.
First, I needed to create a design in Fusion 360 for the numbers themselves:
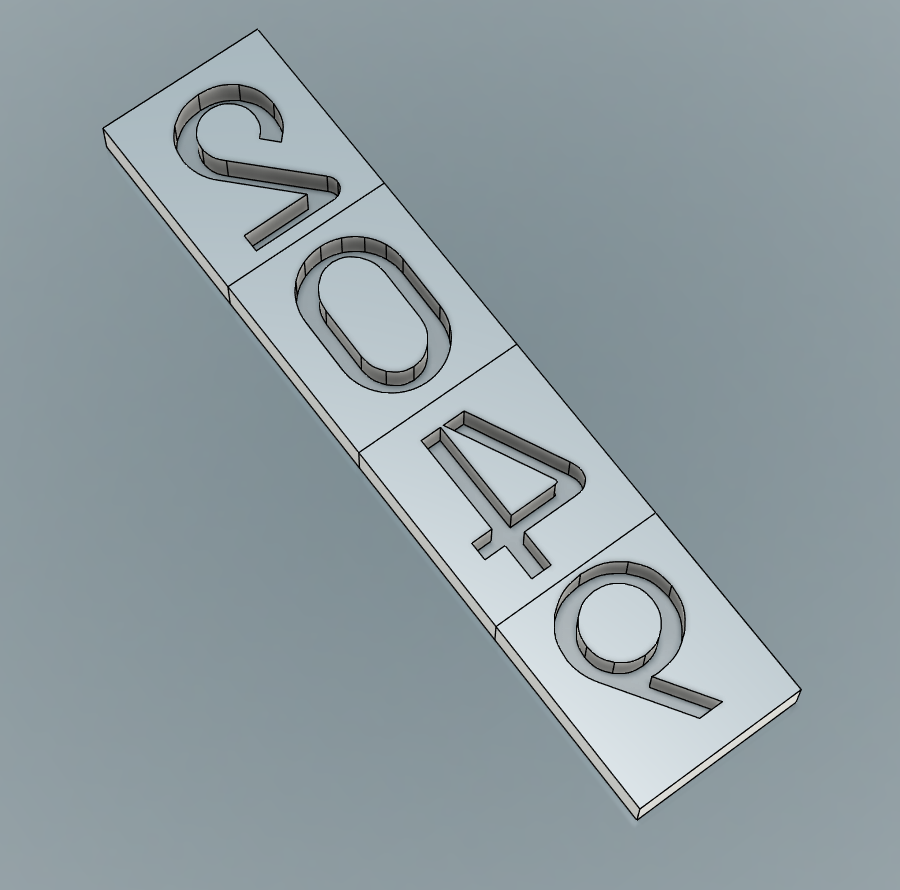
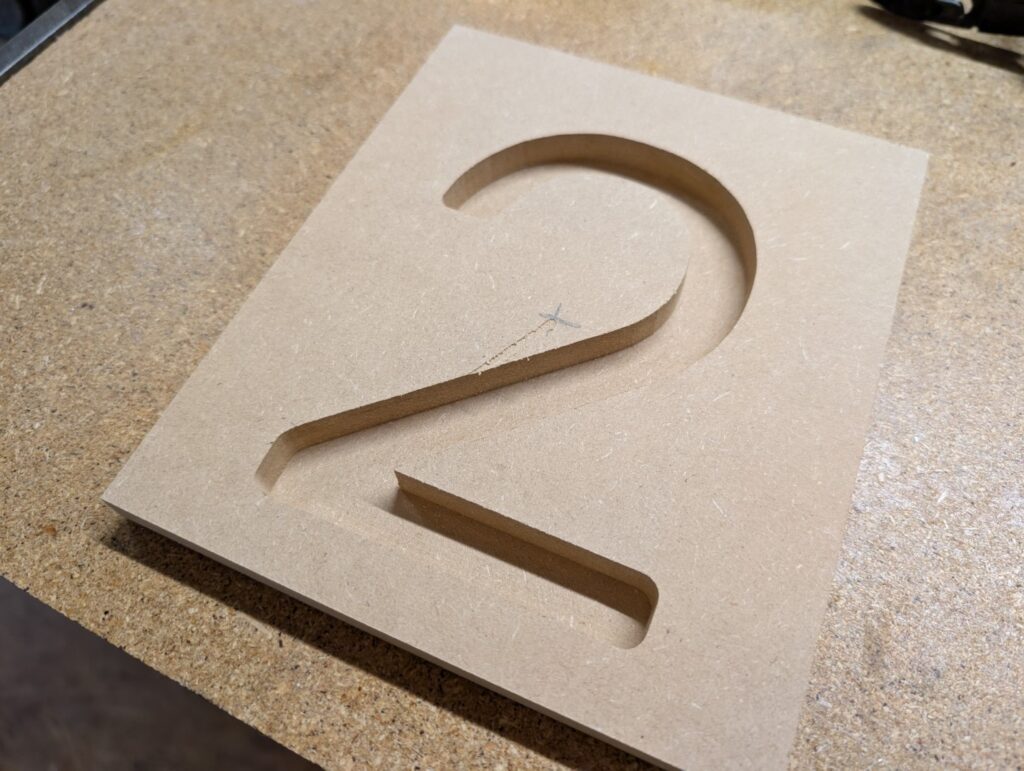
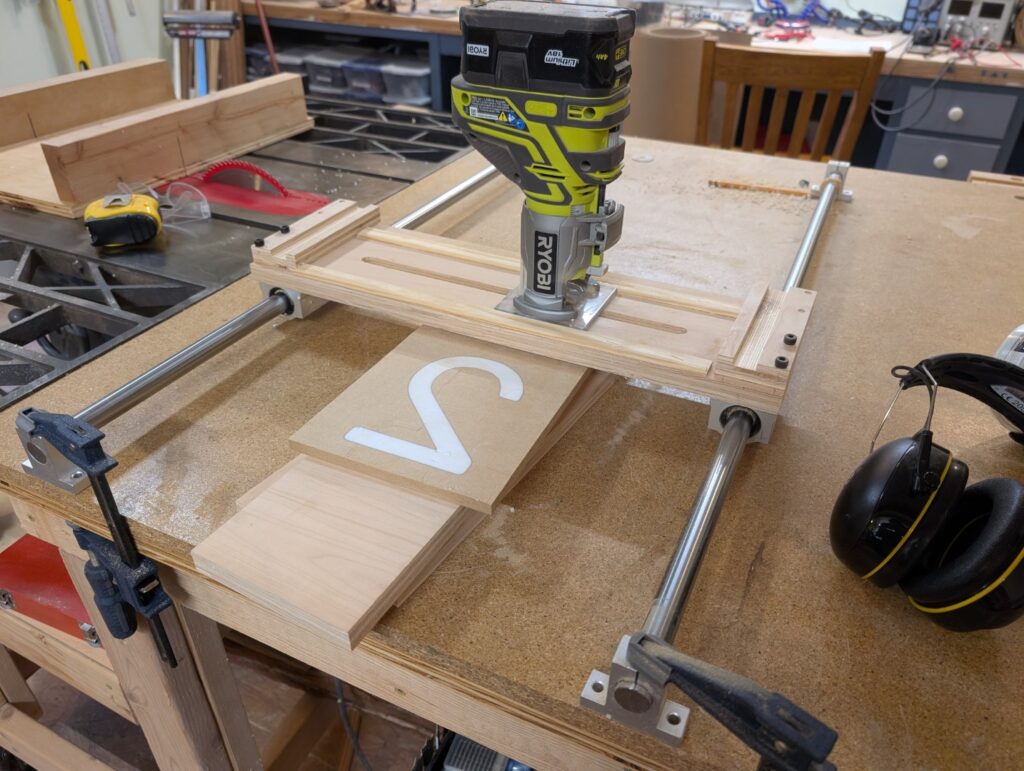
The numbers are mirrored, why? We’ll get to that in a minute! First let’s do some tests to see if the plan will work. I started off cutting the first number out of MDF. The little CNC router did a great job!
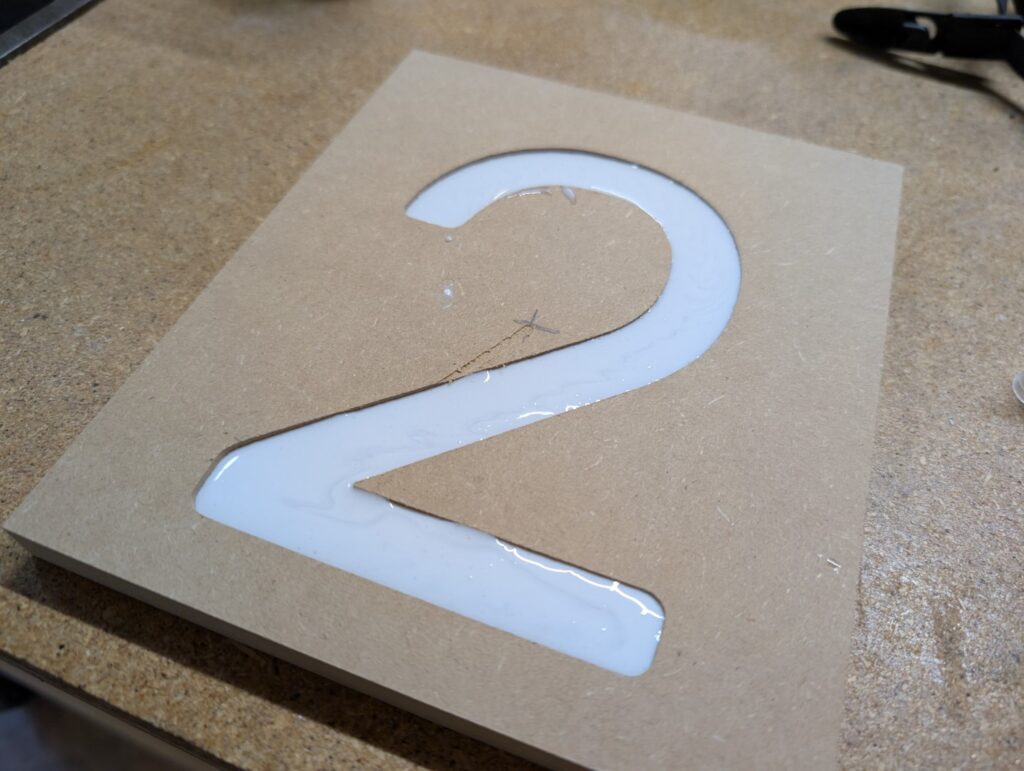
So we’ve got the CNC router working well! Now let’s do some epoxy tests. I bought some epoxy on Amazon as well as some white dye and poured the first test piece:
Now that the number was cut out and filled, I needed to thin the entire piece down. This is why the numbers were reversed in the CAD design, my plan was to pour the epoxy from the “back” and then use a flattening jig to cut down the “front” to reveal the numbers. I threw said jig together with some linear rails I had from a previous (uncompleted) project and built a simple sled. It worked perfectly to smooth out the board and flatten it down to the desired thickness:
And here’s where I realized my first mistake (which is why we do test pieces to confirm the process!), I used entirely too much white dye and it completely blocked the light out from behind. Unfortunate, but again, all part of the learning process!
So time to cut a few more numbers and run some more tests:
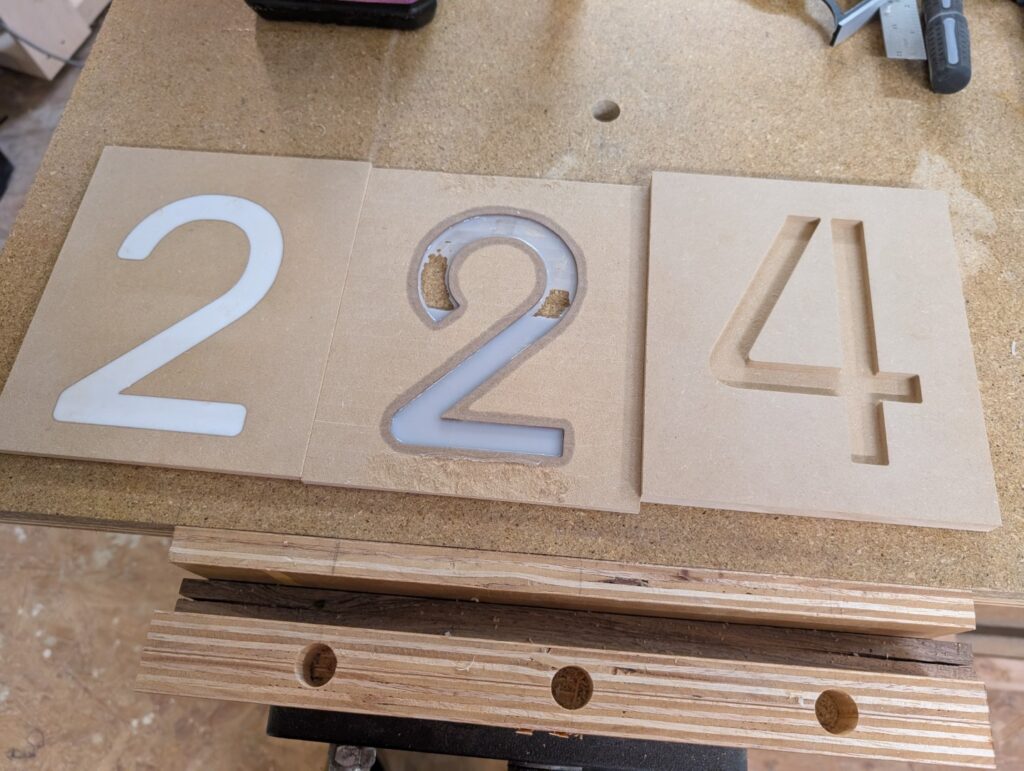
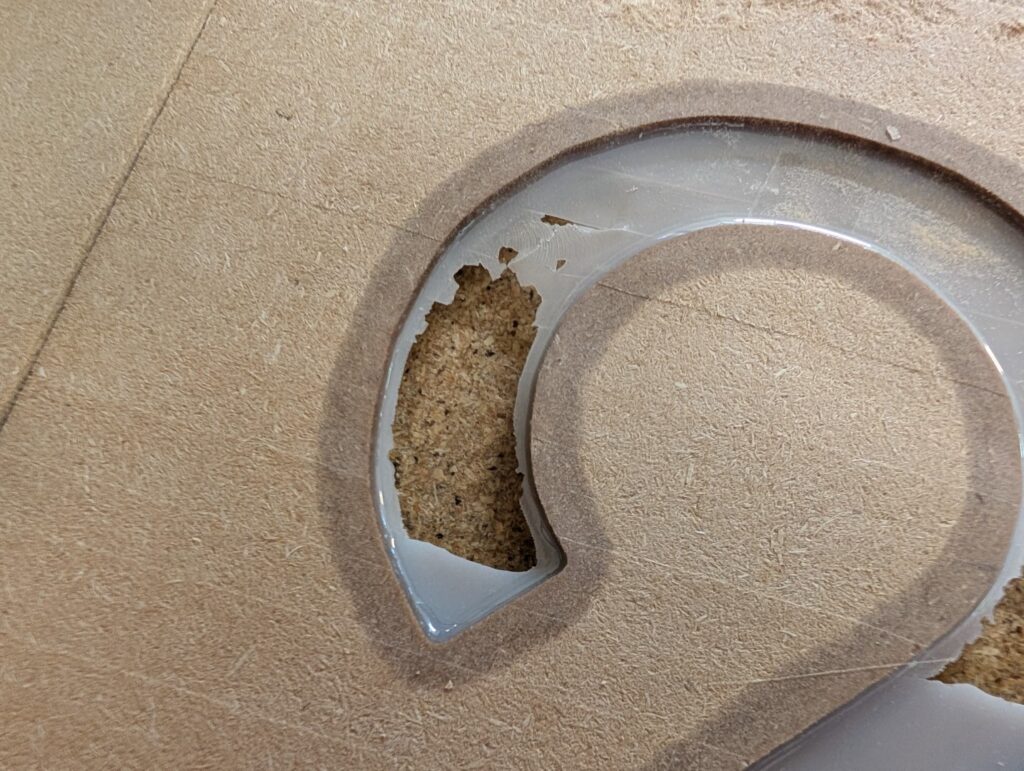
The second 2 (middle in the picture) I tried a slightly different approach to the epoxy pour. I used a lot less white dye, and the opacity turned out pretty close to what I wanted! However, now a new issue occurred. Because I’m impatient, I tried placing the just-poured epoxy piece into my oven at a very low temp, attempting to get it to cure faster. While it did cure faster, it also caused the epoxy to stay a lot more viscous. The moisture-hungry MDF absorbed a lot of the epoxy into the surrounding area, unfortunately, and caused the resulting epoxy to turn out way too thin:
But third time’s the charm! I poured the number 4, got the perfect mix of white dye, and thinned out the epoxy/wood perfectly. I even threw a quick layer of paint on to help it stand out! I built a very quick box with some LED strip lights to add the backlighting effect (which is what I planned to do with the final piece as well). Connecting it to my bench power supply and it looks perfect!
Okay, perfect! We’ve got the router set up, the epoxy method done, and the backlighting confirmed. Let’s make it for real! I wanted to use a piece of walnut for the actual final project, partly because I really love the look of walnut, and mostly because I just happened to have a piece that would work!
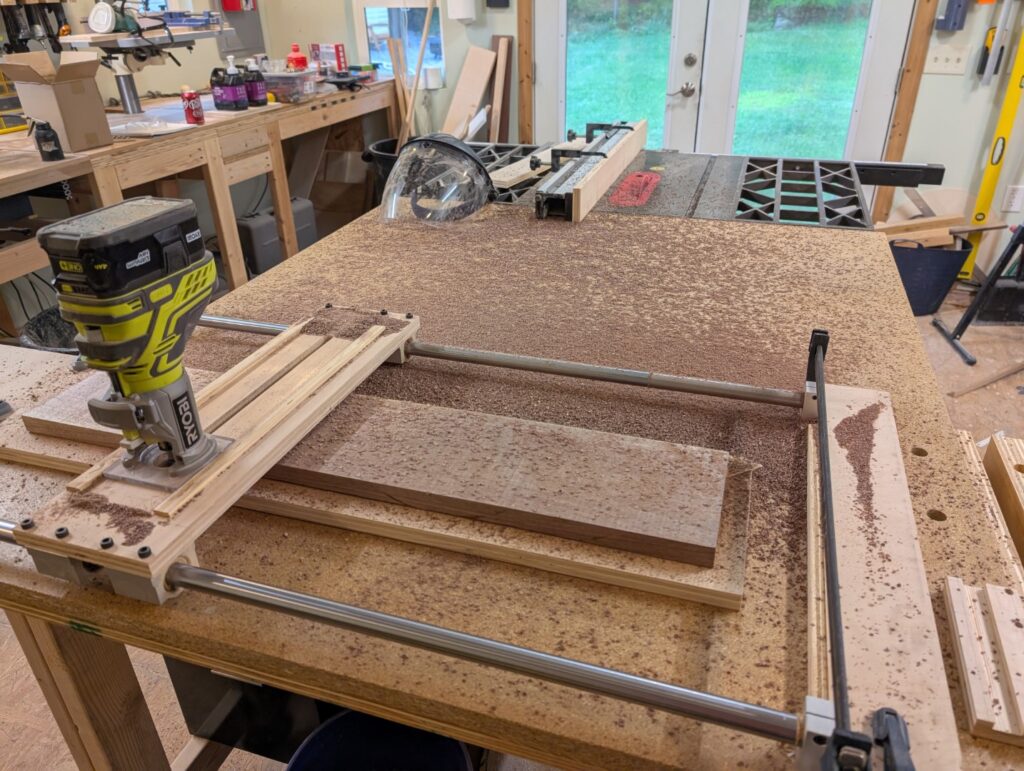
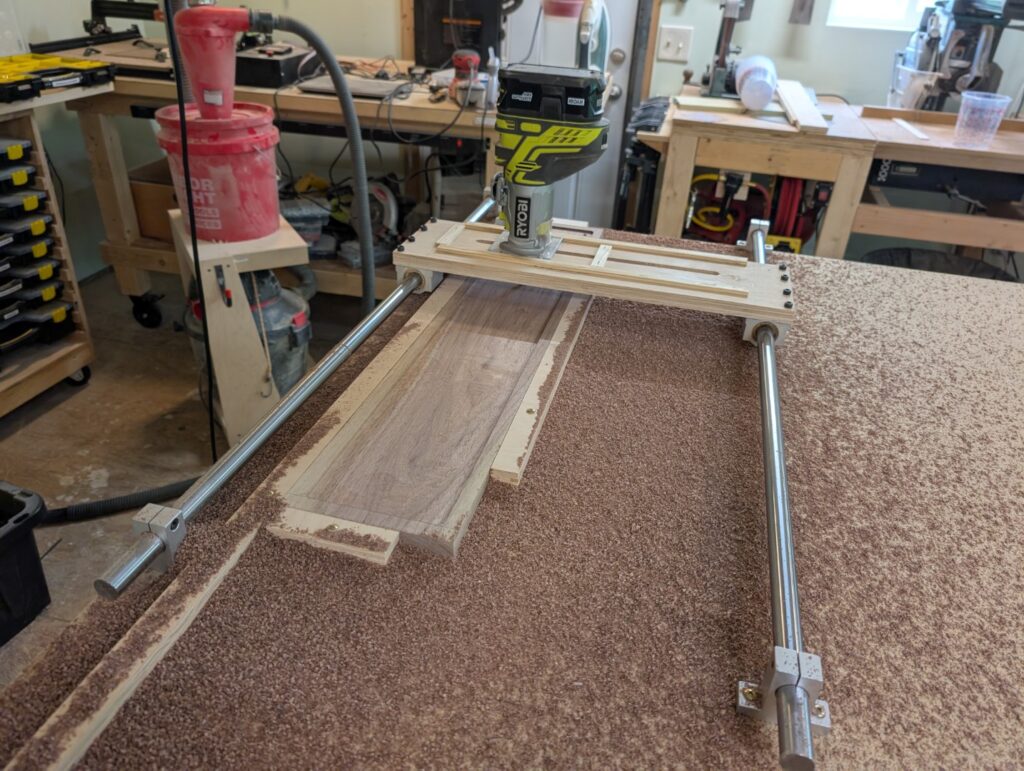
First I had to get the walnut piece flattened down to be an actual board, as the bit I started with was from a local gentleman with a saw mill. It was dry, but very rough on all sides. I cleaned up the edges on the table saw and used the flattening jig to create a smooth face on both the front and back, making a massive mess of wood chips in the process:
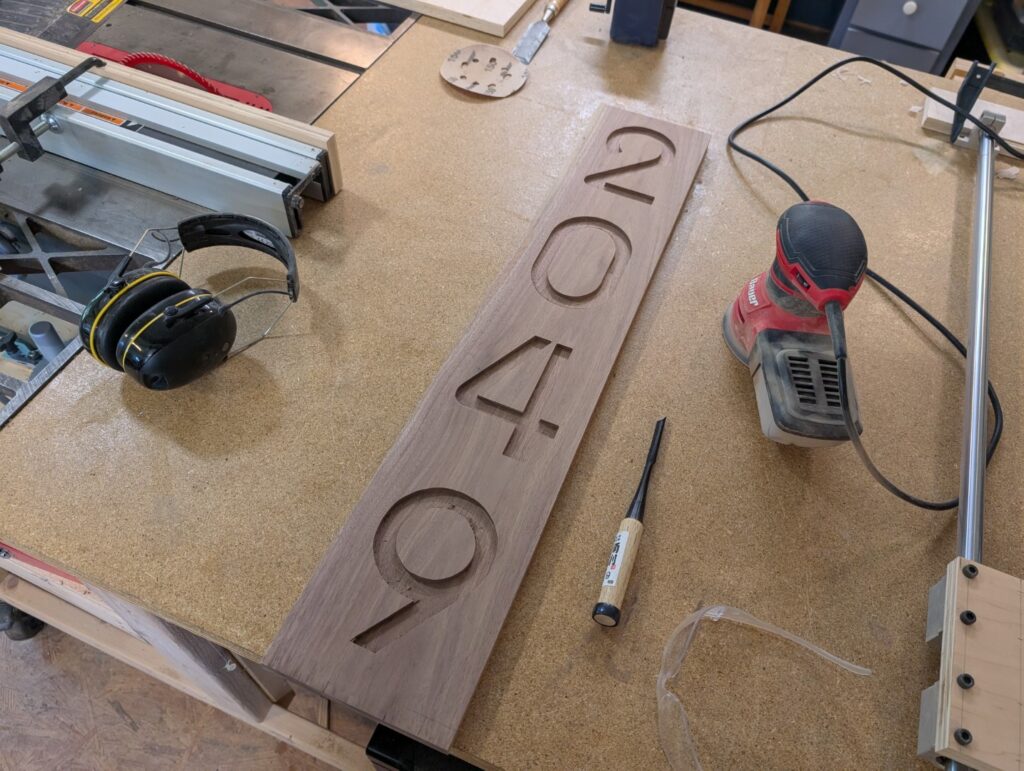
With that completed it was CNC time! Admittedly I might have been asking a little too much from my benchtop CNC router. Walnut is a fairly hard wood to ask the little brushed DC motor to cut, and while it did perform admirably overall, it skipped a few steps when running against the last number. Good lesson for the next time, run at a slower feed rate! Still, nothing I couldn’t clean up with a few minutes of work with the chisel:
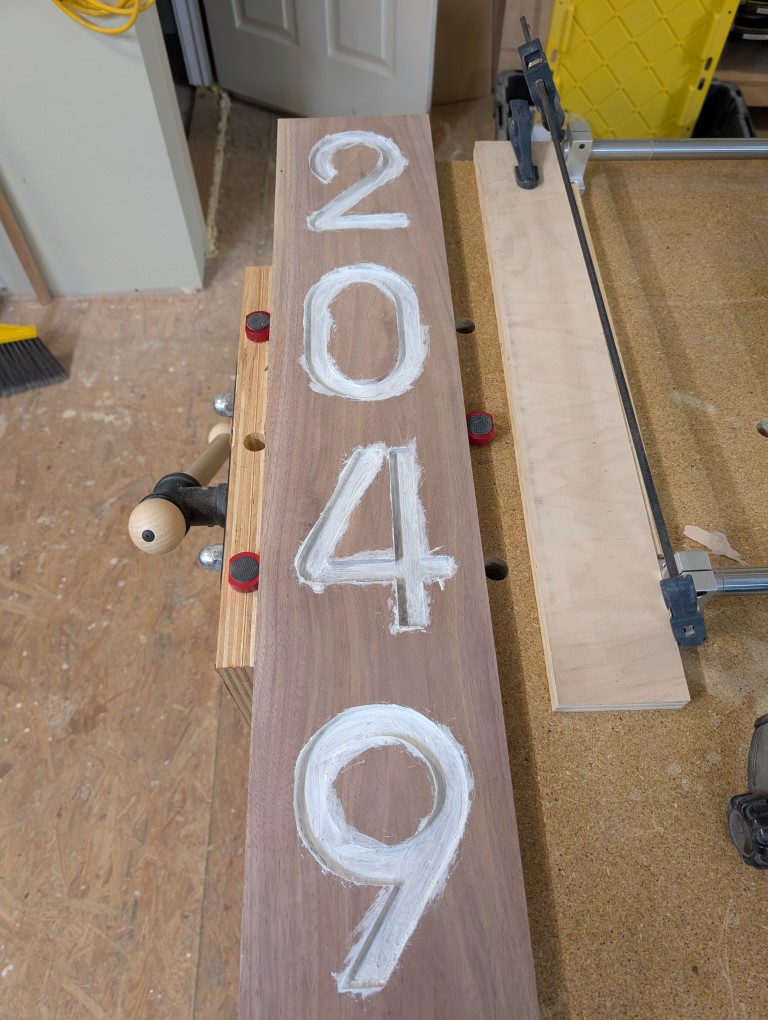
I used some acrylic paint to fill in the numbers. I wanted to try and prevent the epoxy from soaking into the surrounding wood and messing with the finished epoxy level. Walnut is nowhere near as moisture hungry as the MDF was, and this probably wasn’t totally necessary, but I still felt it was good to take every chance I could to make it good:
Now for the epoxy pour. While my test pieces had just been a straight mix-and-pour of the epoxy, I wanted to ensure the “real” piece had no defects, so I purchased a vacuum chamber off Amazon to help pull air out of the mixed epoxy, which was an incredibly fun thing to watch happen:

I made sure the board was perfectly level, and poured the epoxy, it went off without a hitch! I left it to cure for 48 hours to be sure there would be no soft spots or chances for deformation. All in all, it came out perfect!
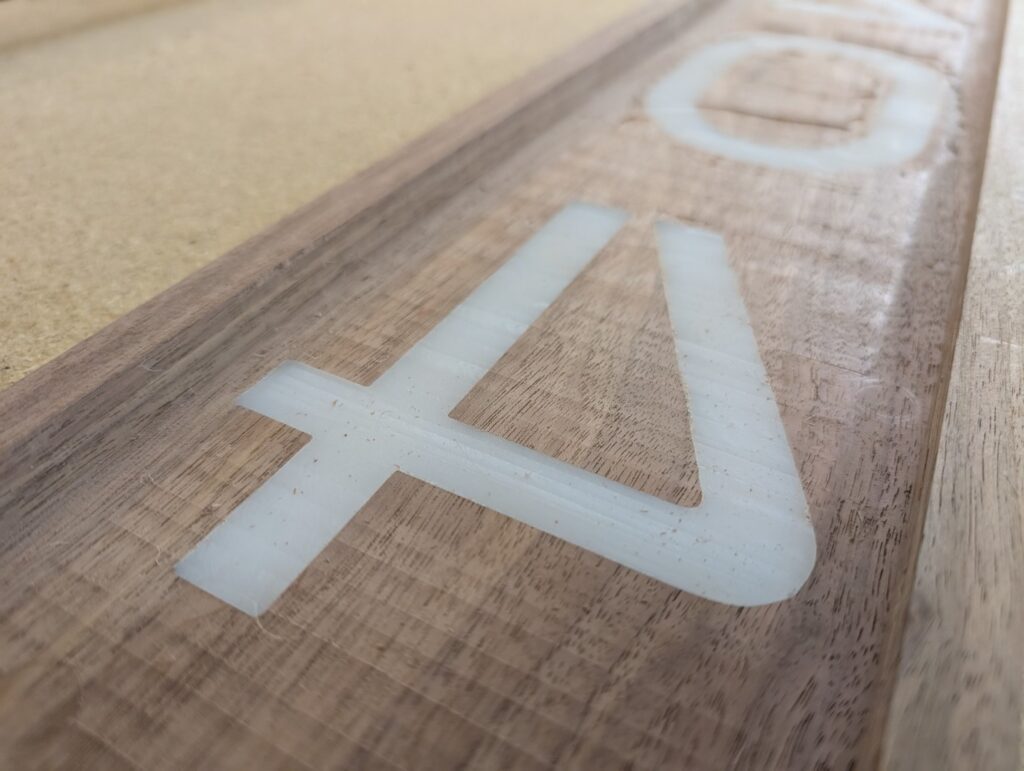
Okay so the front of the numbers are routered out, filled with epoxy, now I need to router out the back. My thinking here was to router out a “pocket” that would be able to hold the LED light strips I was planning to use. I adjust the flattening jig with some stops (to maintain the edge of the board) and slowly started to cut the wood back layer by layer until the numbers showed through:
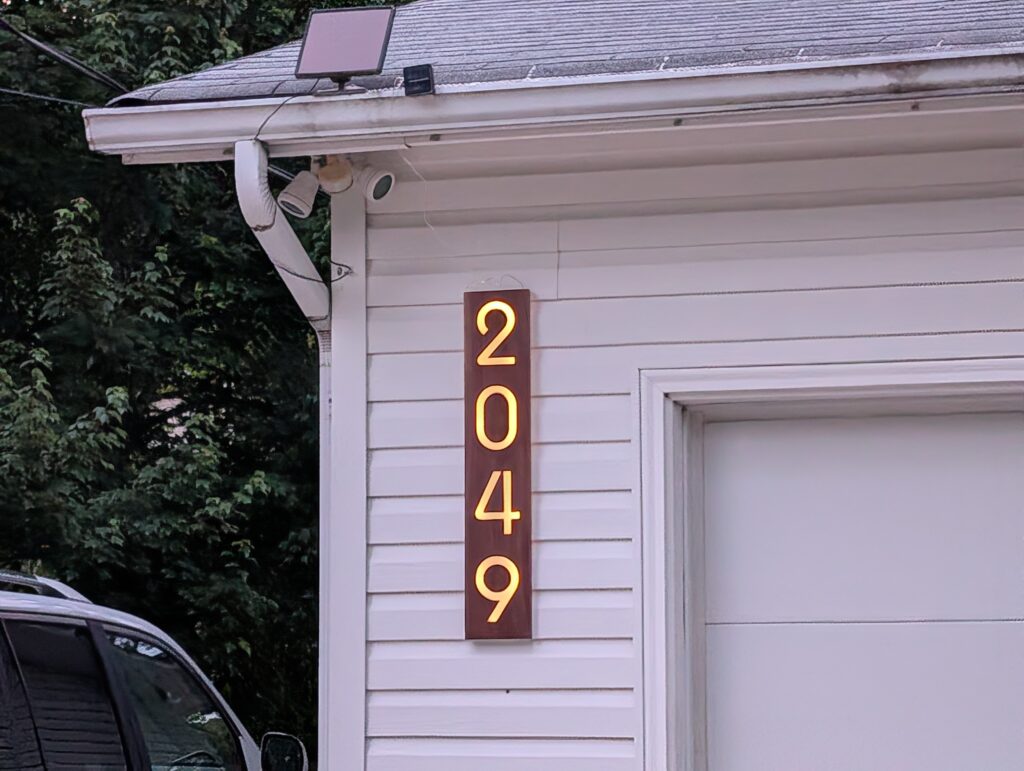
For the very last steps, I purchased an LED light strip that was connected to a small solar panel for charging (I don’t have power running to the corner of my garage that would allow me to hard-wire the lights, a future project I would love to do!). I cut a back cover plate using some 1/8″ HDPE sheet, and added a wire to hang it from. And finally, it was complete! The numbers turned out perfectly, exactly what I had pictured in my head. The solar panel works very nicely, it kicks on automatically at dusk and the batteries last about 4-6 hours. Not quite all the way through the night, but frankly if someone is showing up at my house at 2am I’m not sure I want to advertise the address anyways!