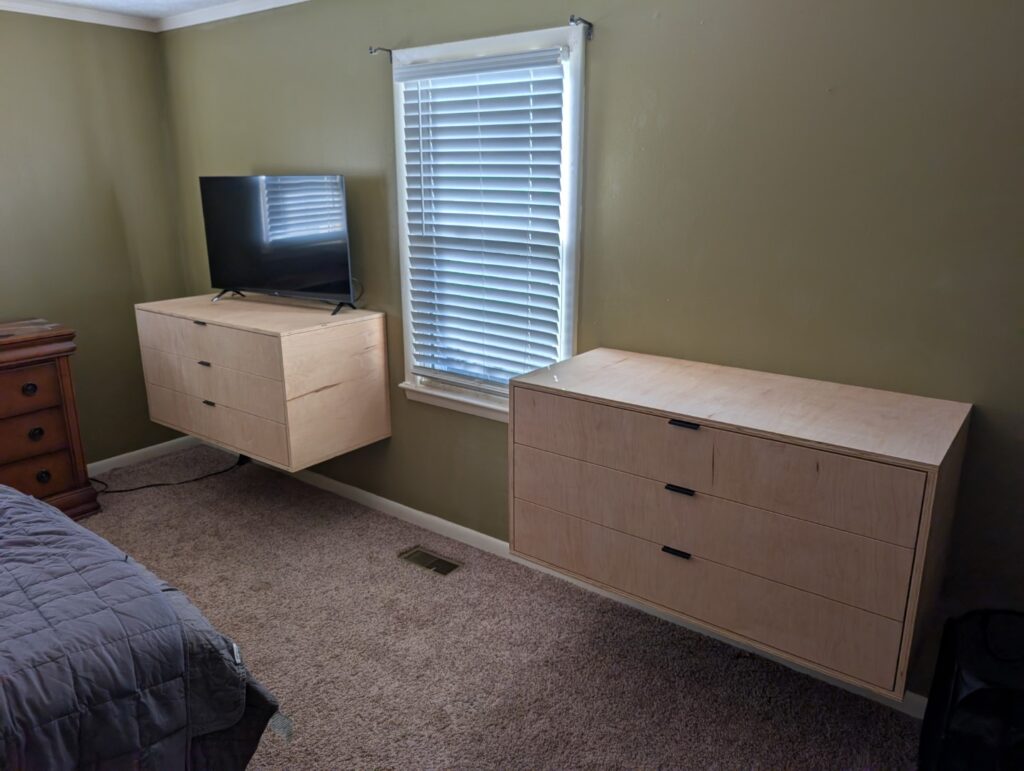
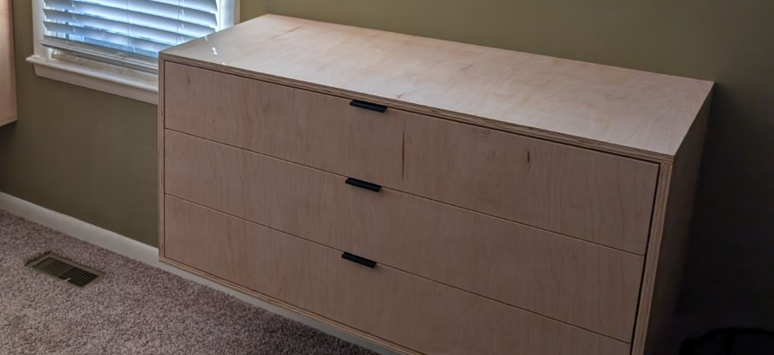
My old dresser was not my favorite piece of furniture, an old, beat up particle-board (with thin veneer) chest that looks very out of place and stuck back in the 90s. So I decided to make my own!
I started off in Fusion 360 drawing up a basic design that I thought would fit nicely, and matches my “floating” night stand I built last year.
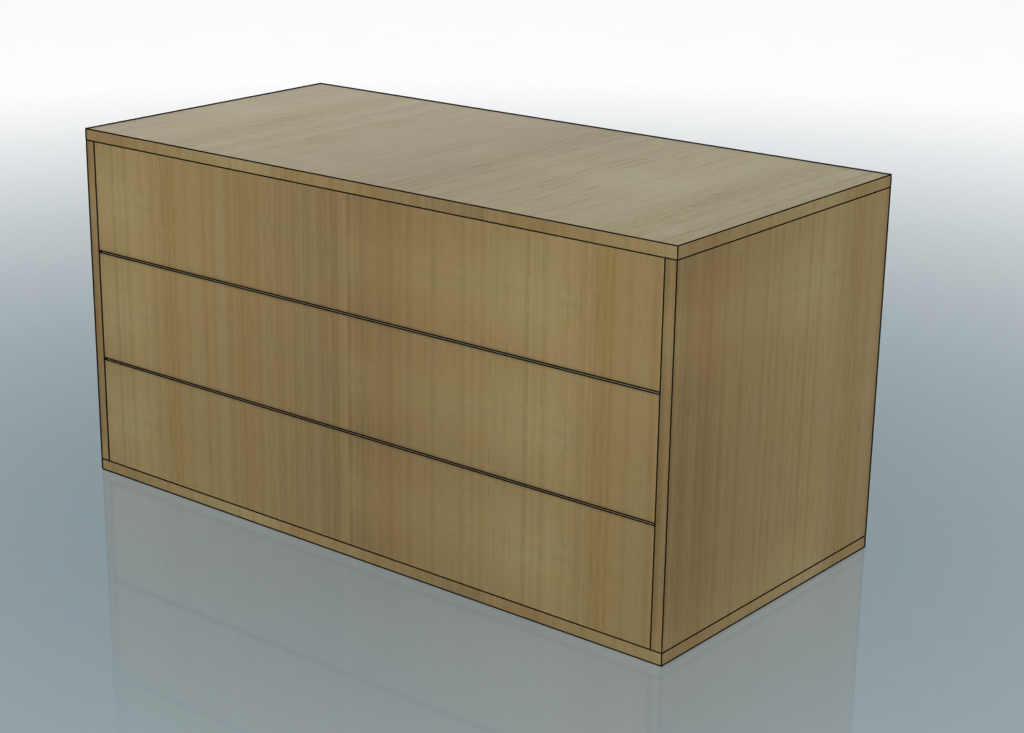
With a design completed (after several revisions, including the first which showed a set of legs to hold the dresser up rather than it floating) I started cutting out some of the 3/4″ maple veneered plywood I had leftover from other projects.
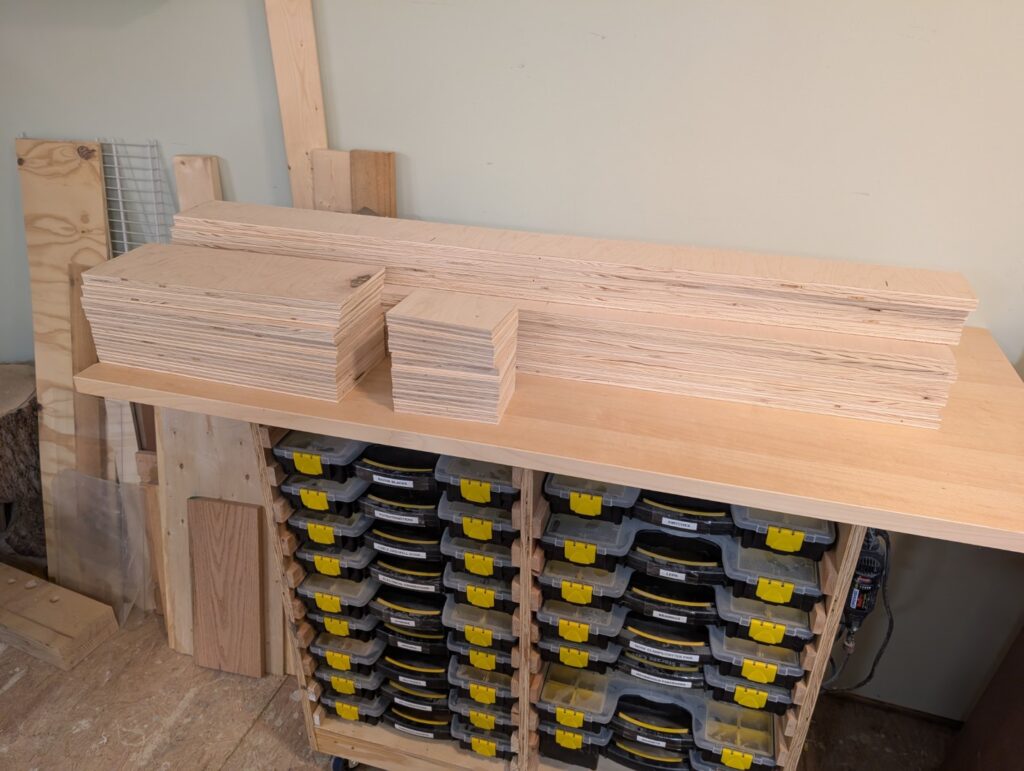
But this wouldn’t be enough, throughout the whole project I used about 1-1/2 sheets of 3/4″ plywood, and 1 sheet of 1/2 inch for the drawer bodies.
I got the main body of the dresser(s) completed and glued up, held together with several pocket screws and a very unhealthy amount of wood glue.
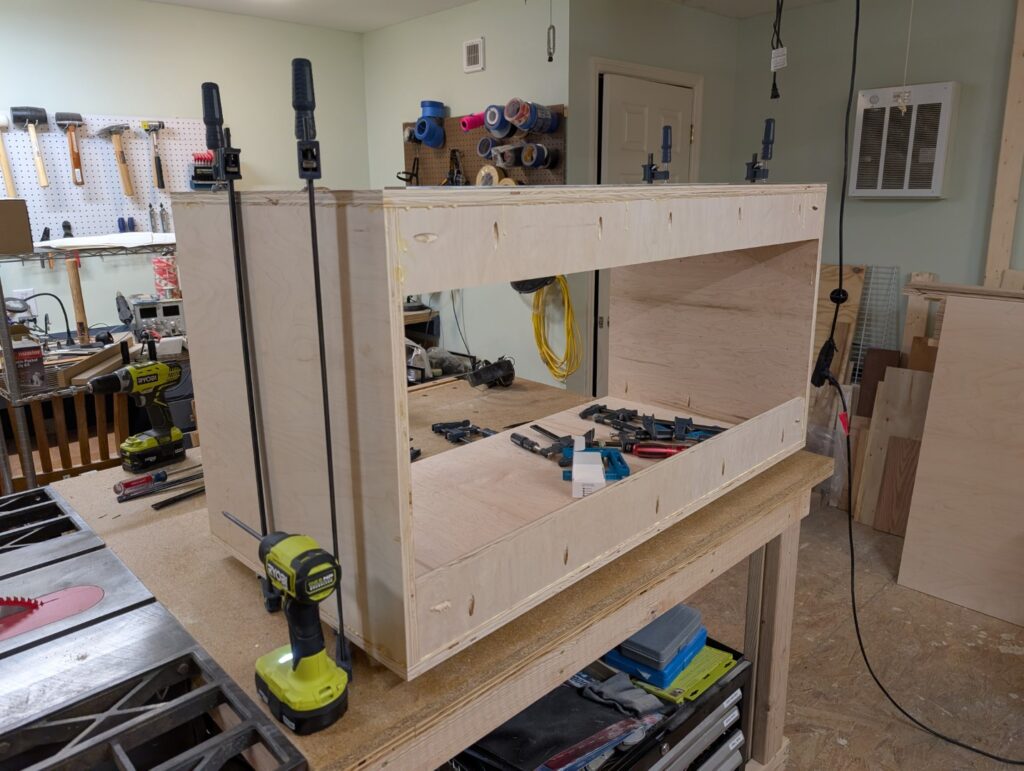
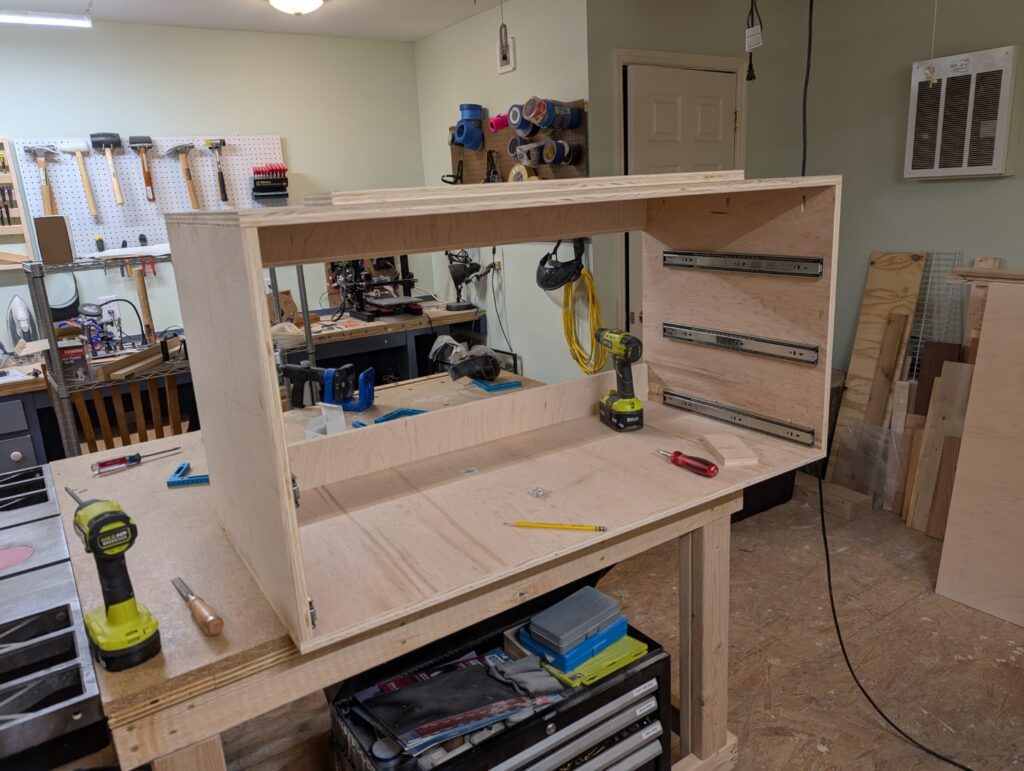
Once the first body was done I could mount it on the wall in my room for a test fit and to make sure it would look correct and the way I wanted it to.
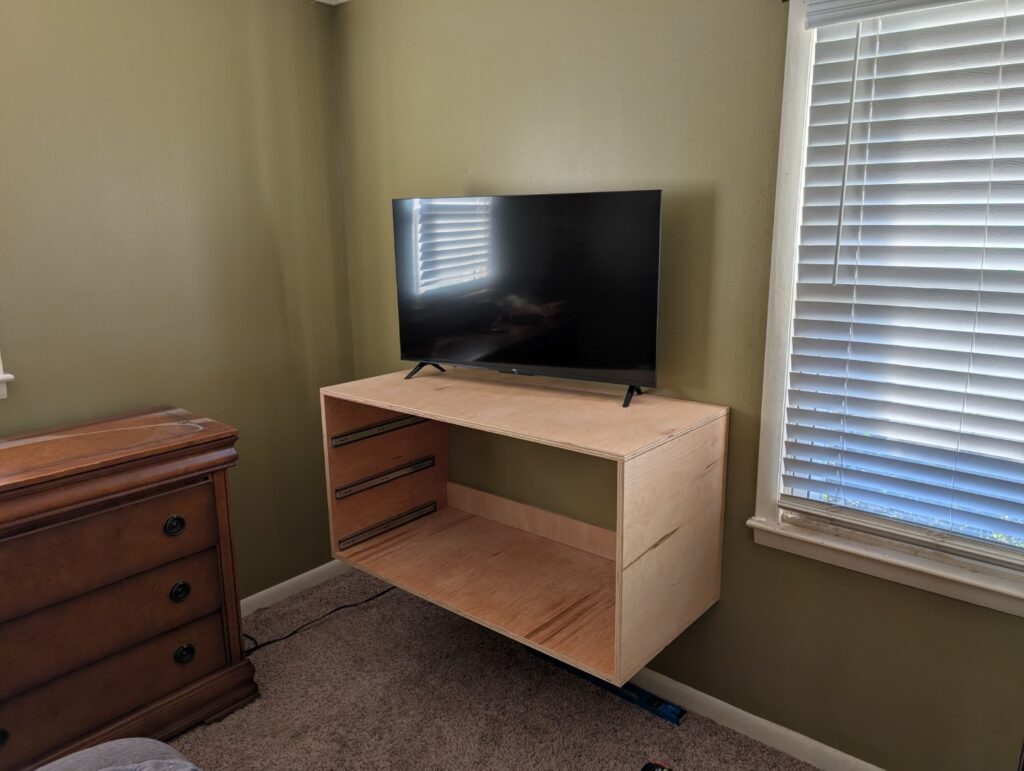
And success! They looked and fit great! Now to focus on the drawers, so more time at the table saw with a sheet of 1/2″ maple plywood. As well as cutting down to basic size for the drawers, I included a rabbet for the drawers to interlock, as well as a groove for the bottom to sit in (sheets of pressed fiberboard would serve as the bottom of the drawers).
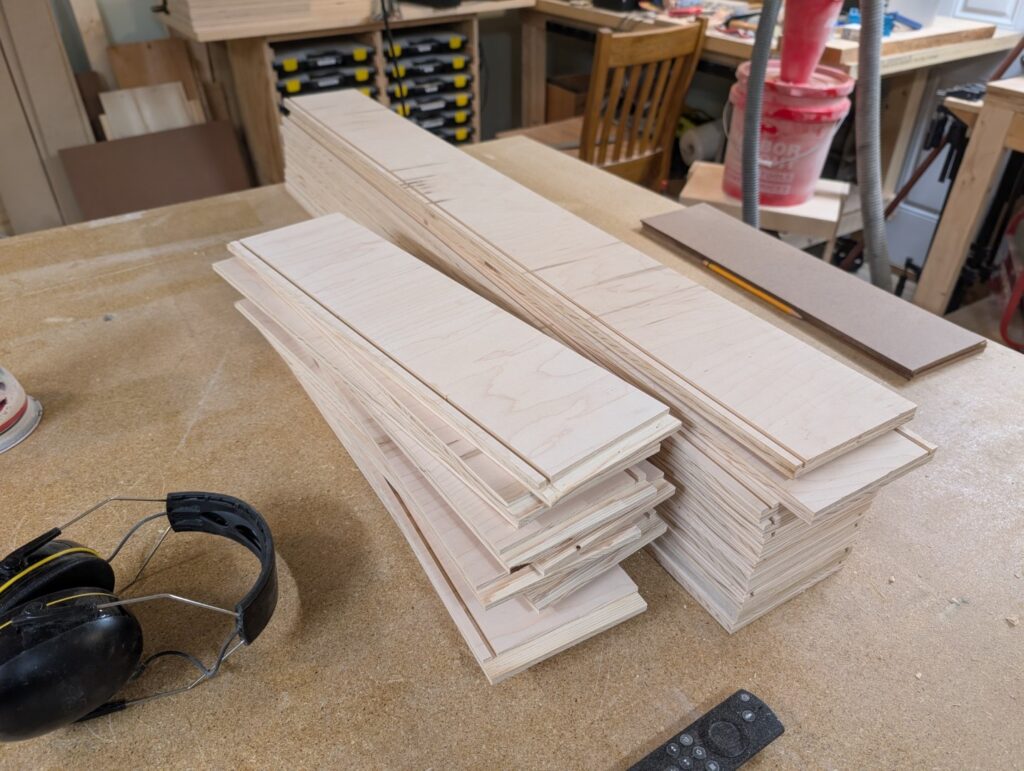
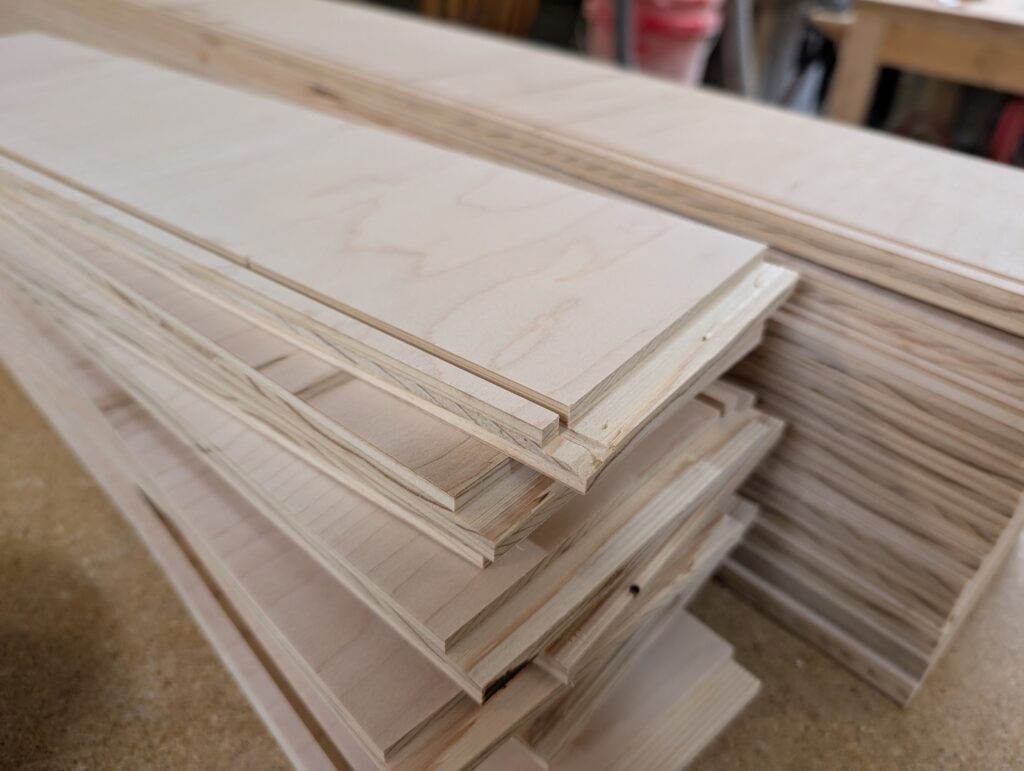
With the raw drawer pieces cut out, I could completely assemble one drawer as a test piece (to verify measurements and fitment) and it looked great!
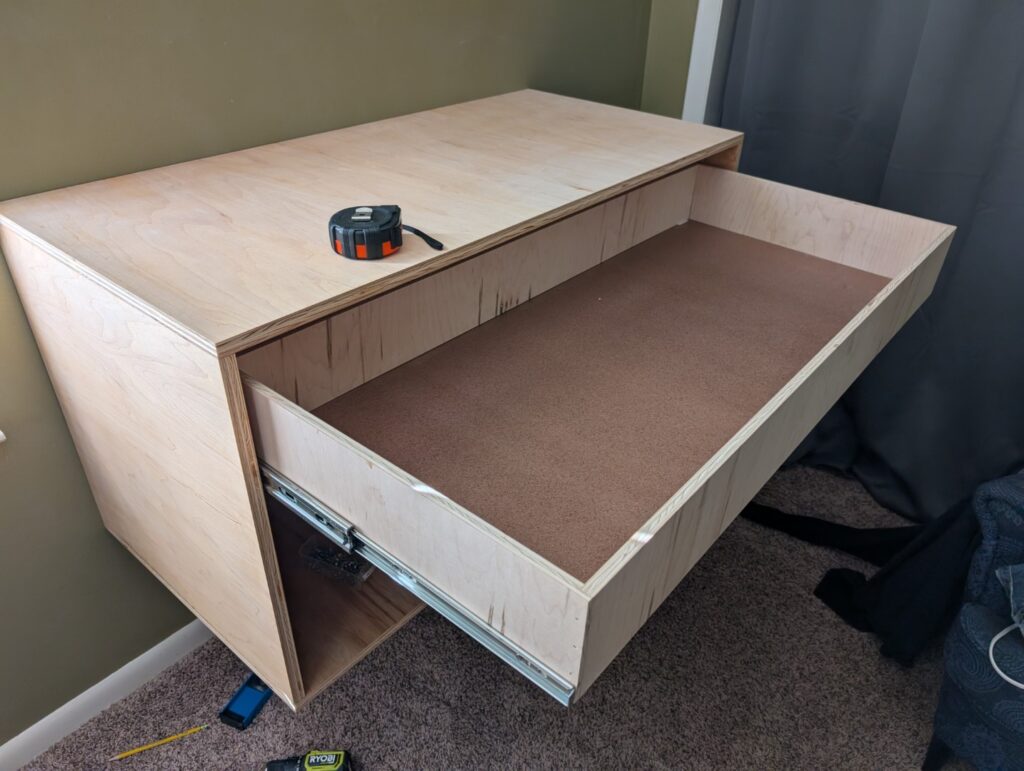
Now it’s time to build the rest of the drawers! Assembly line time!! The drawers were assembled, glued and checked for squareness, then a thin coat of Danish Oil applied to the exposed faces.
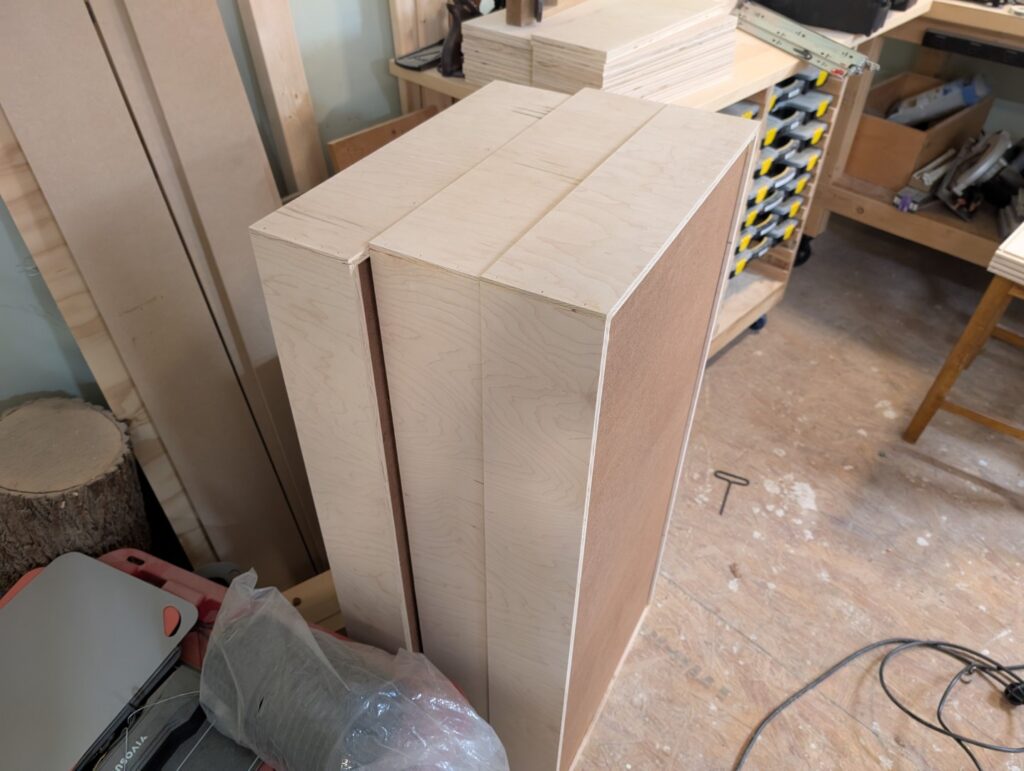

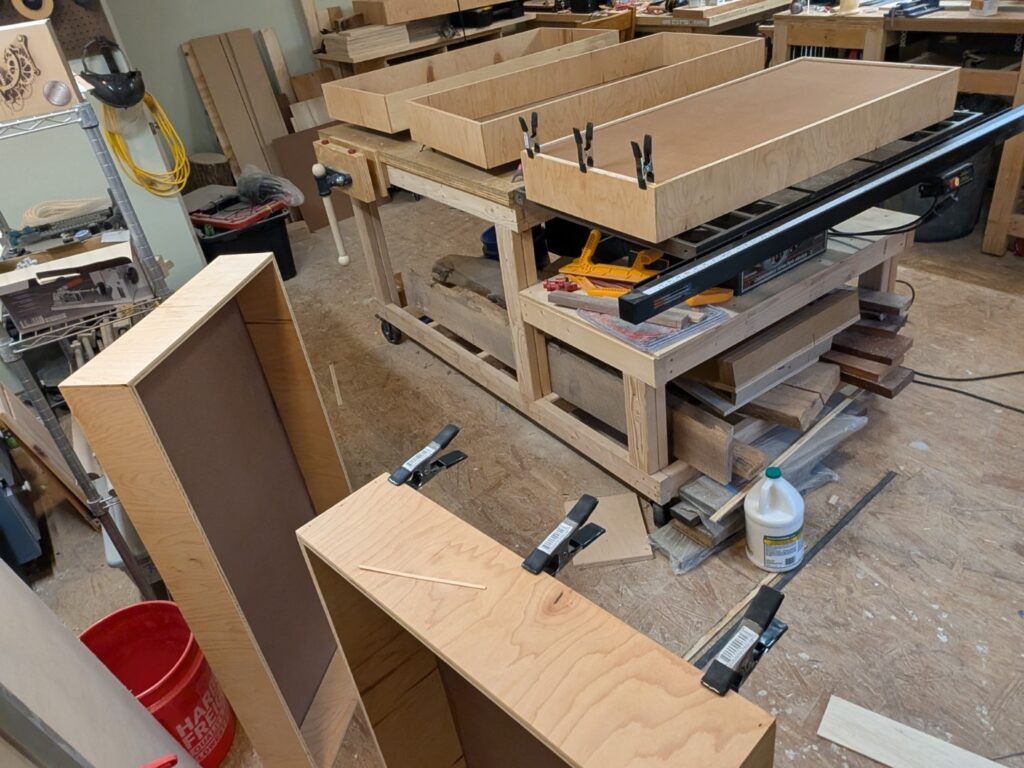
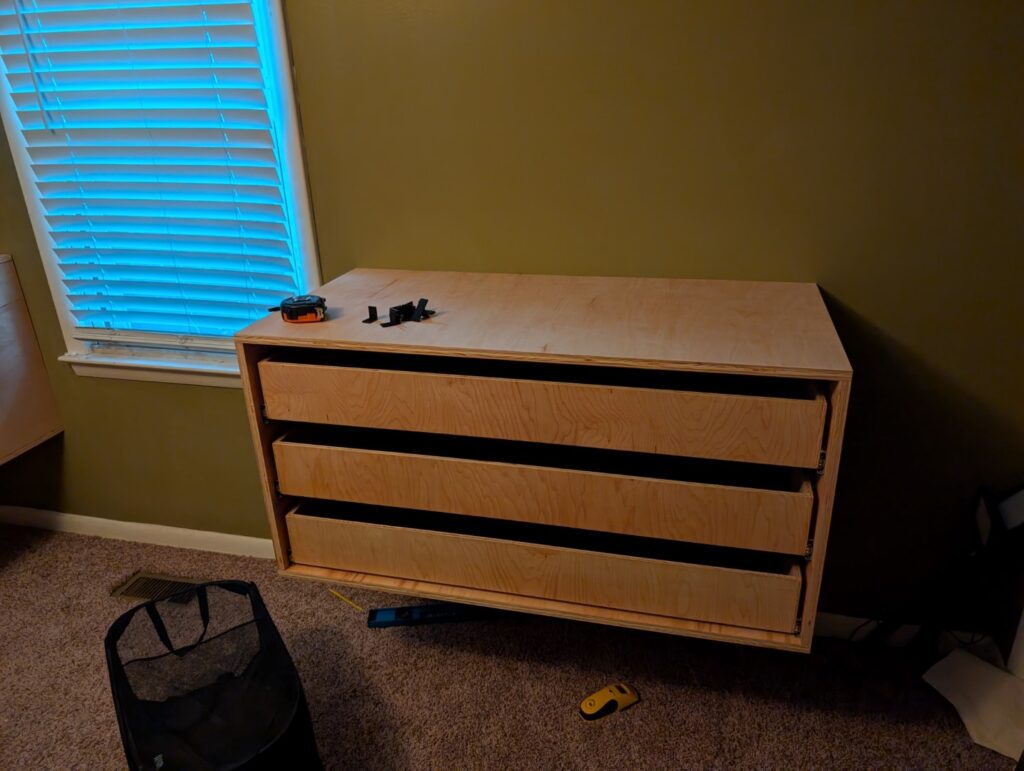
In the home stretch! With the drawers mounted and adjusted to glide nicely, the final remaining piece was to build the drawer faces. They were cut down to final size and test fit to get them just right, then finish applied. I had 3d printed a few small spacer pieces that would keep the drawer faces evenly spaced while installing them.

Now that they’re cut down to size, I need to add a small “notch” to the top of each board to act as a recess for the drawer pulls. The pulls fit over the top and stick out slightly, providing a lip to grab to open the drawer.
To make this easier on myself, I 3d printed a guide that would sit over the top of the drawer face and create the appropriate spacing to run a trim router with a bearing-guided cutter to “notch out” the faces. The result of which was a very clean, subtle look for the pulls!
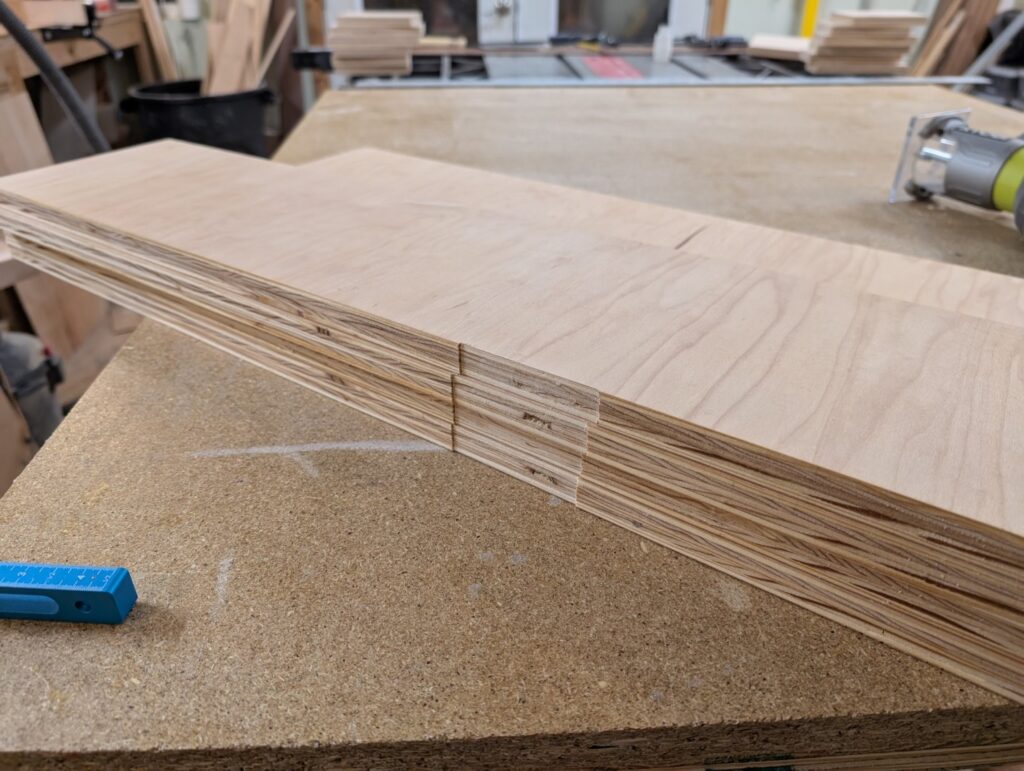
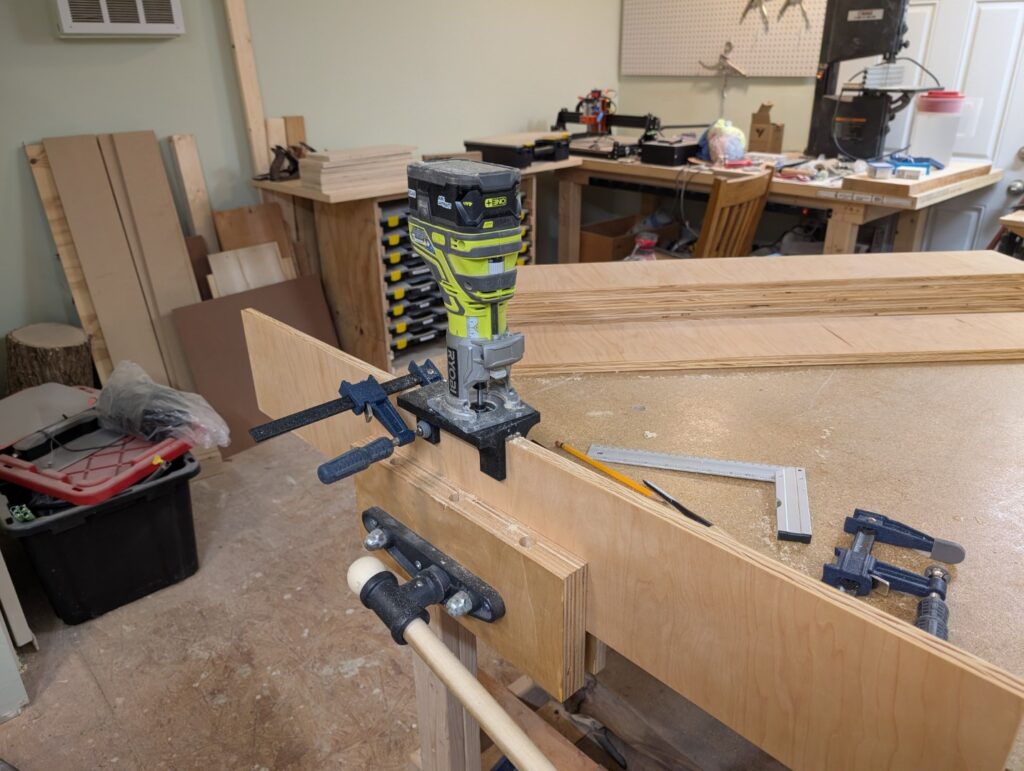
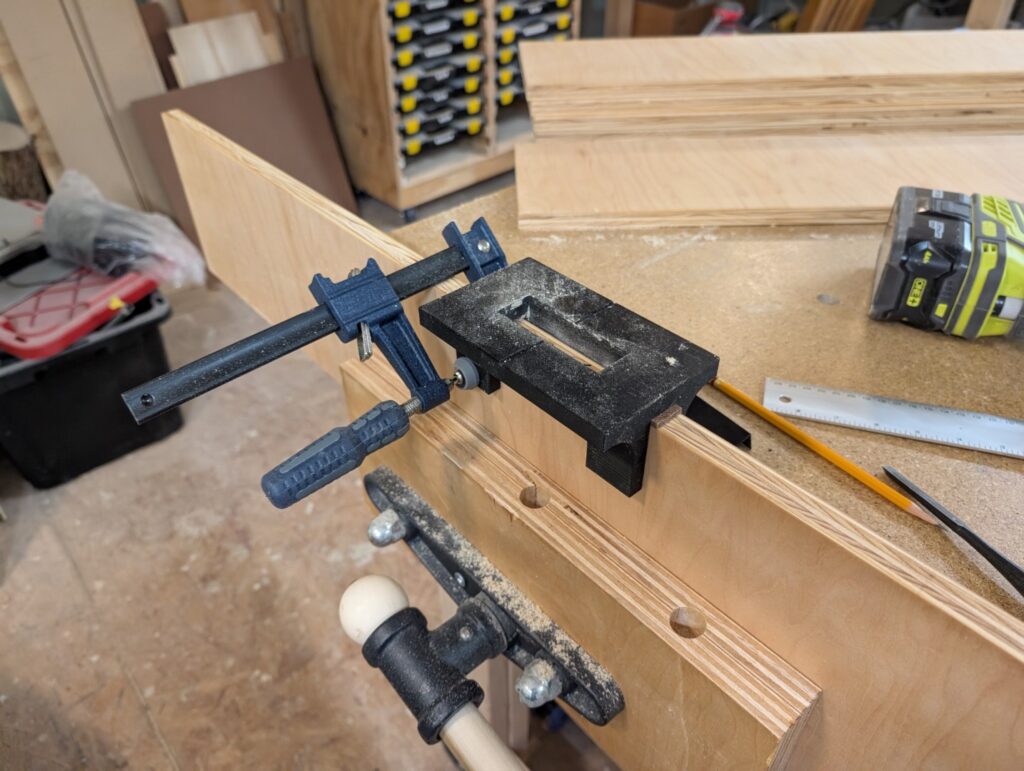
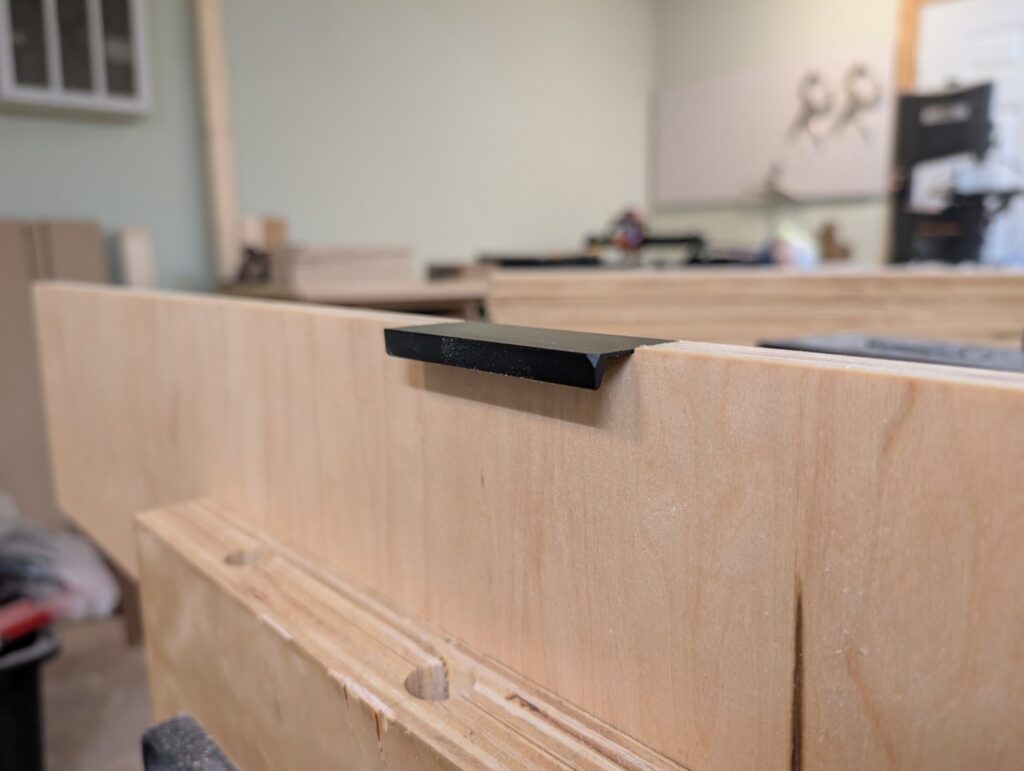
With that, the faces were complete! I mounted them to the drawers using my 3d printed spacers, some double-sided tape to help hold them in place, and several screws through the drawer into the face from behind.
And aside from adding a coat of paste wax to smooth out everything, the dressers are complete!
