I have been slowly working on renovating my bathroom for the past few months, slowly chipping away at one thing after another. The primary thing was getting the flooring replaced, and naturally I neglected to take any photos of this process. But the flooring was replaced with a click-lock vinyl flooring, walls were painted and cleaned up, and new trim put in. Now it’s time to work on the sink area.
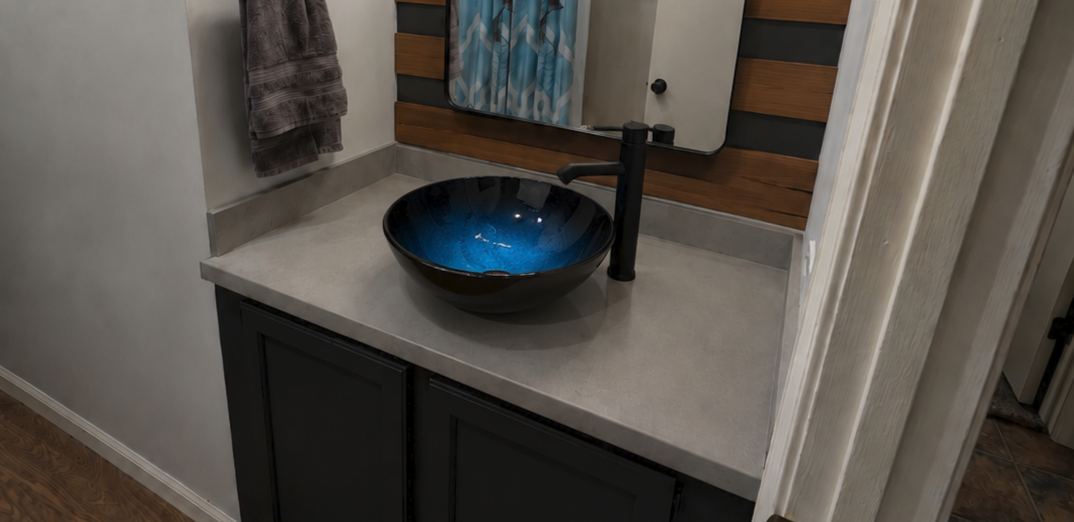
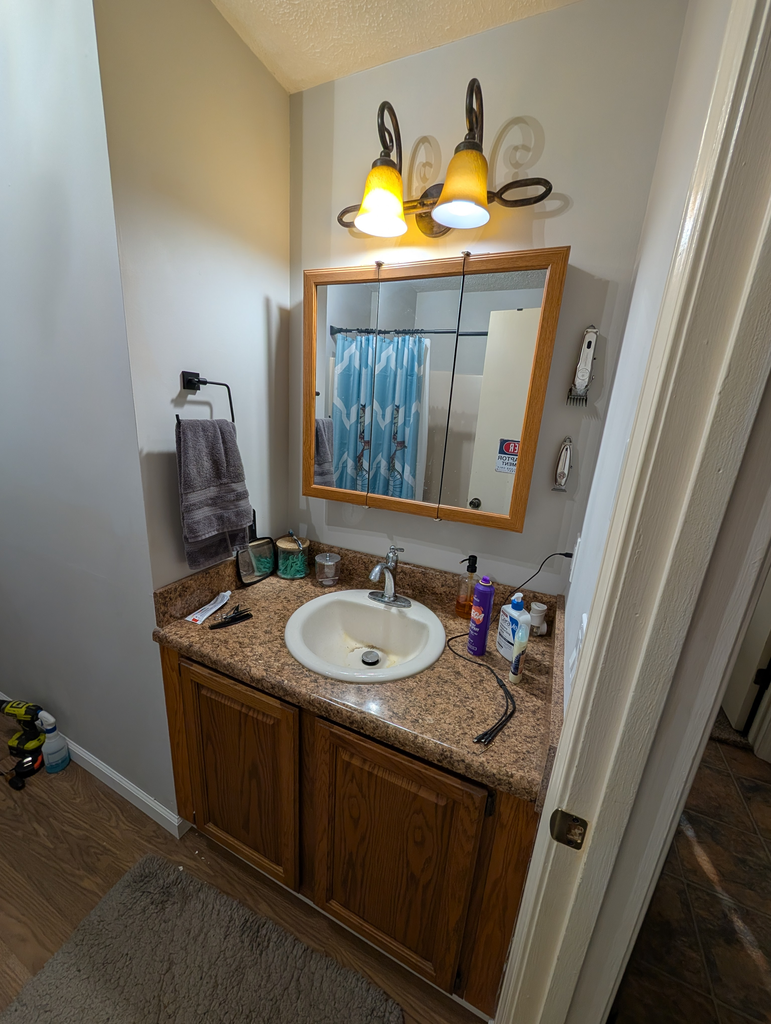
The bathroom sink is not in great shape. It’s stained, the countertop is gross, and I really dislike the vanity. My mom had some great suggestions for changing things up, but it was hard to visualize what they would look like. AI to the rescue! I ran the first photo (an actual photo of my bathroom) through ChatGPT, giving it the suggestions my mother made, and it came up with a pretty nice looking version:
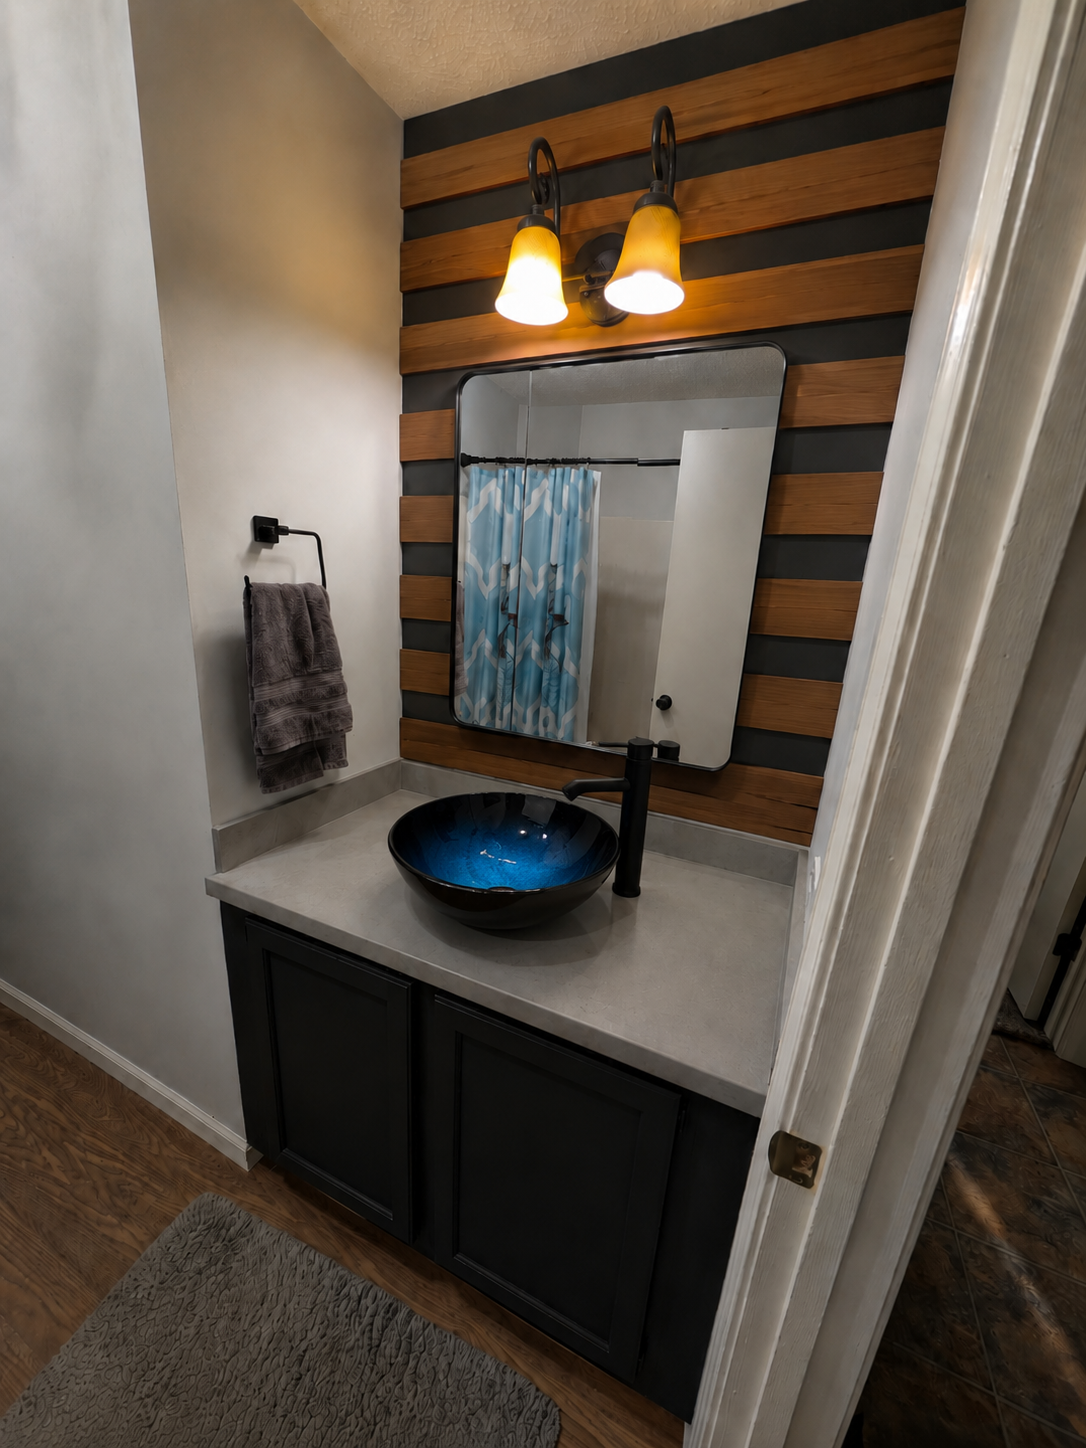
This looks pretty good! I like the vessel sink and the countertop is made of concrete. The cabinet and back wall, painted black, provide a nice contrast with the wood background (which will be made using some teak boards I have salvaged from another project long ago).
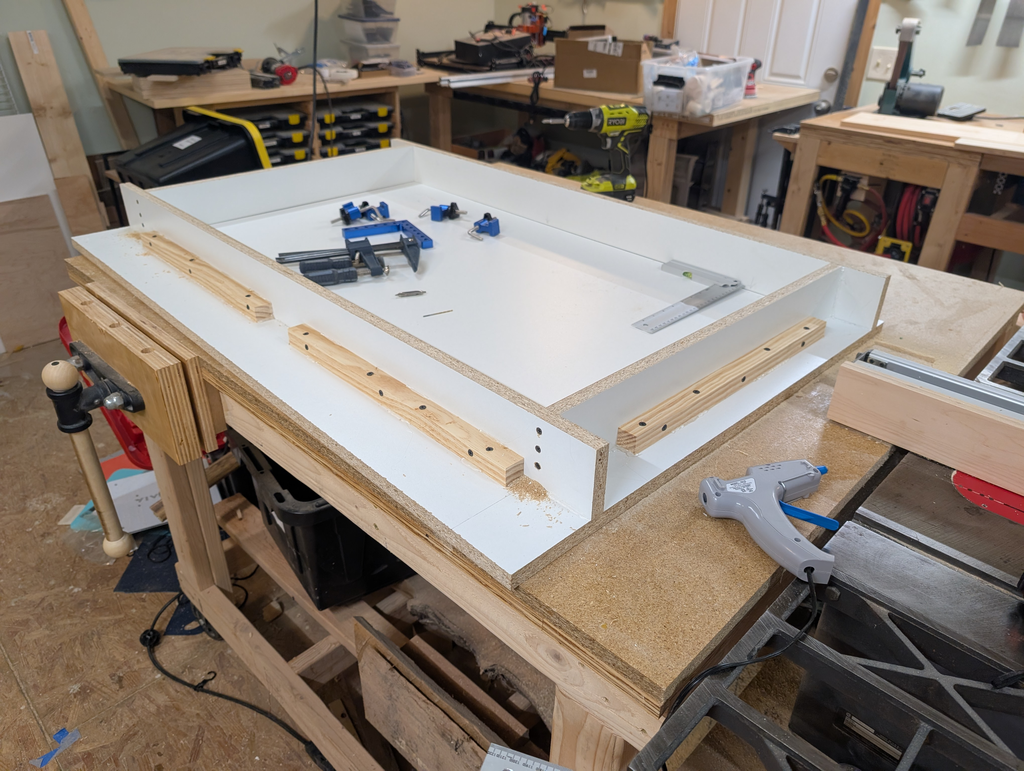
So with a rough plan decided, it’s time to get to work. First, we need to build a mold to pour the countertop into. A sheet of melamine coated particle board, cut down, glued and screwed to the appropriate size was made:
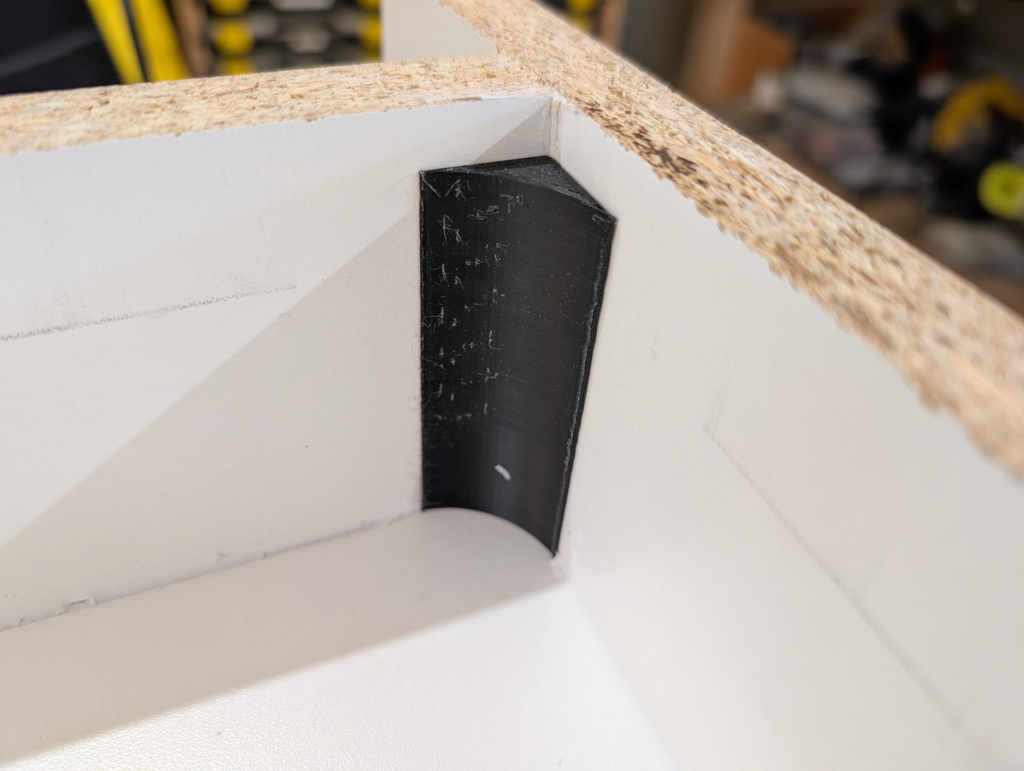
I even managed to 3d print a few specific pieces, including this one heavily rounded corner (it’s the only “exposed” corner on the countertop, so I wanted it to have a decent radius):
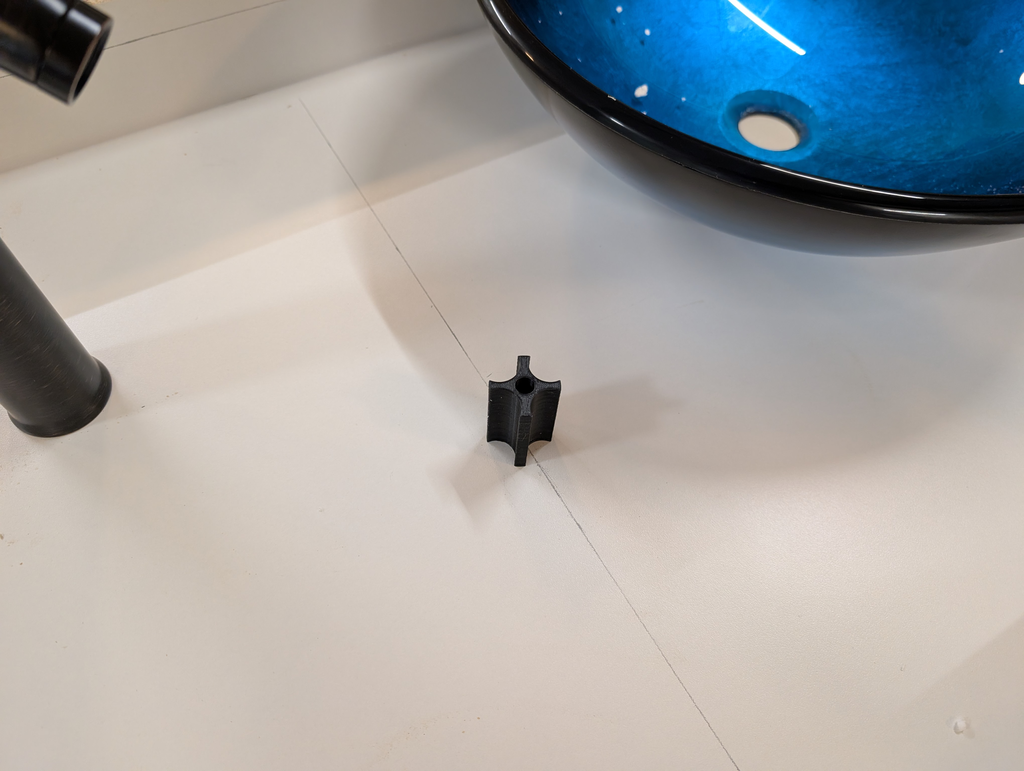
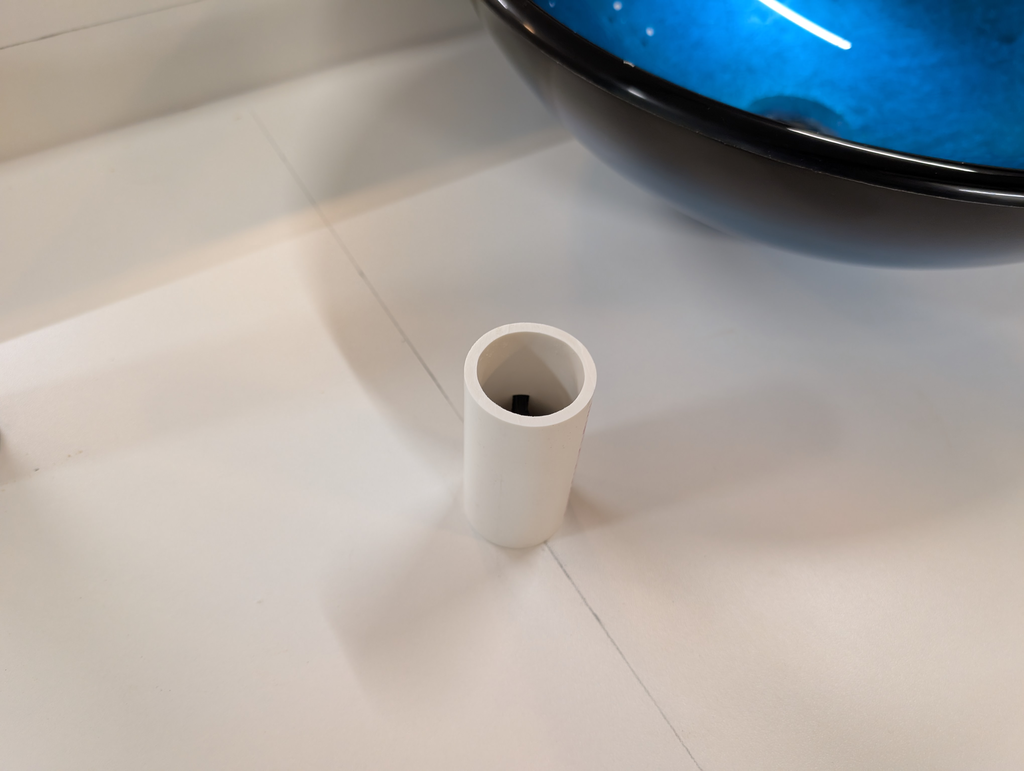
Then I needed to place the sink and faucet holes, we’re going to make them using some PVC pipe which is the perfect size for the drain and faucet holes. To position them perfectly, I also 3d printed some little spacers that fit the inside diameter of the PVC tube, allowing me to screw it down to a precise point, and have the PVC positioned perfectly inside it:
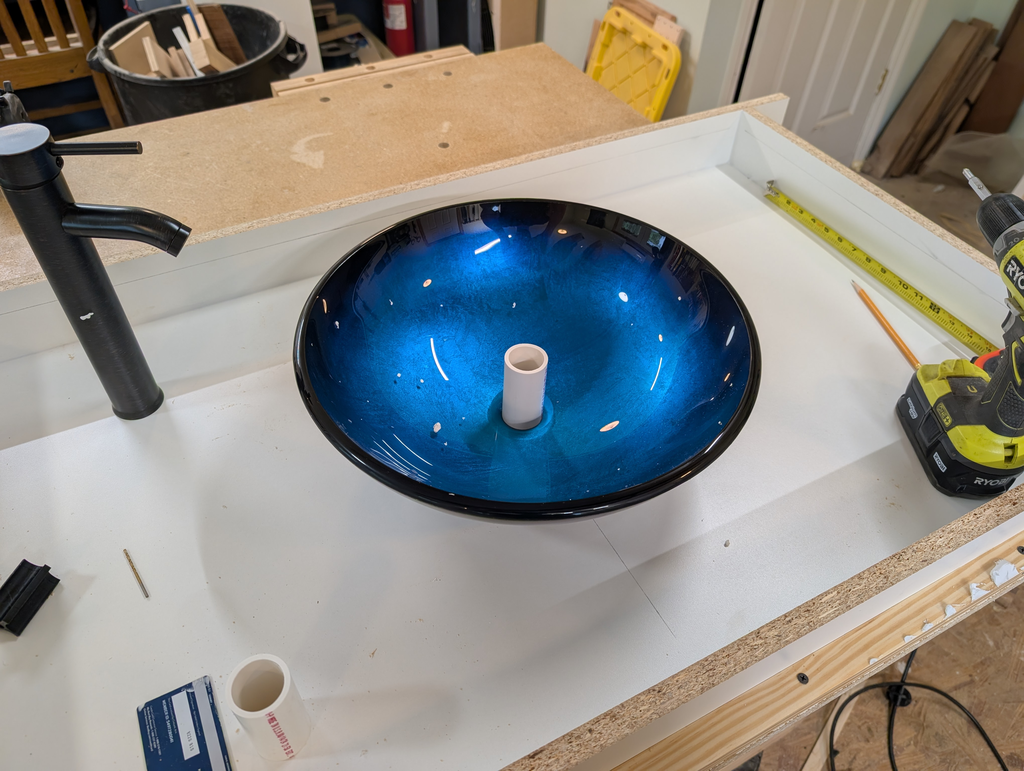
Now with the mold physically complete, it was time to finish prepping it. I placed a small, radius-ed bead of silicone caulk around the seams on every edge, as well as using a decent amount of hot-glue to the back side of the mold (to help keep it steady and together – it’s screwed into place, but with the amount of concrete going into I wasn’t sure it would hold). The surface was waxed with furniture polishing wax and sprayed with a light mold-release spray.
Finally it’s time to pour! I purchased 3 80-pound bags of Quickrete “countertop” mix. Also not shown here is the fiberglass mesh reinforcement I placed halfway through the pour. There wasn’t as opportunity here for many pictures, but it was messy to say the least!
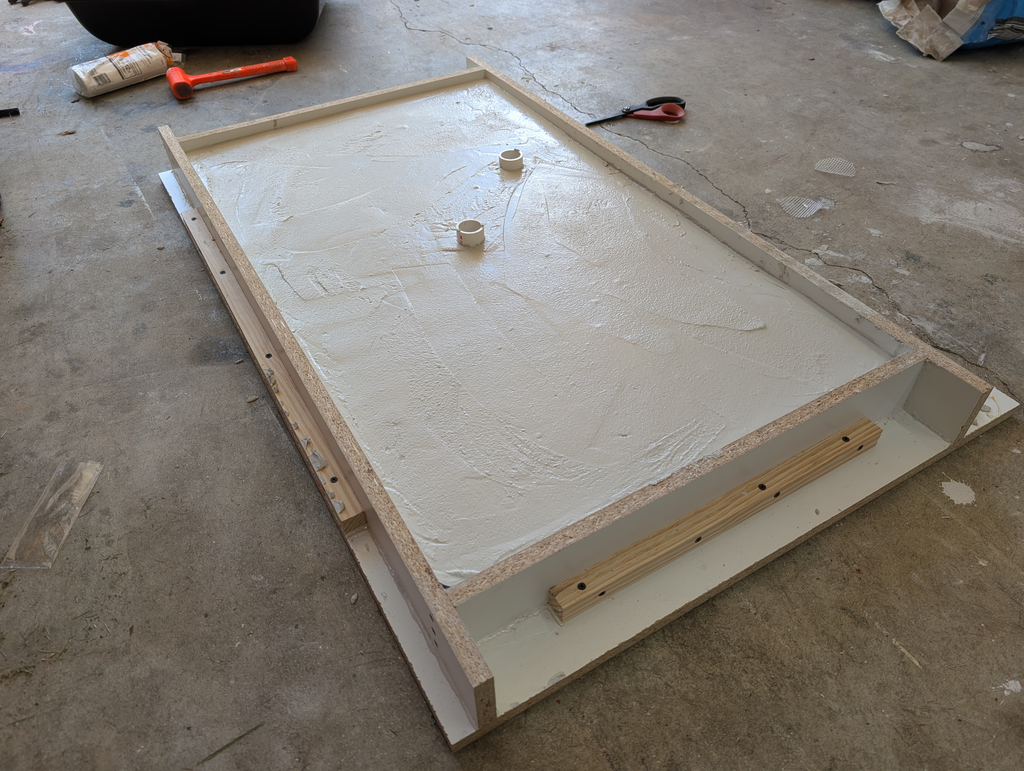
With the pour complete I used a combination of tools to try and “vibrate” the concrete into place, rubber mallet tapping the sides, a palm sander without sandpaper, and lots of gentle tapping! The mold was then covered in plastic to try and slow the exposed top from drying too fast:
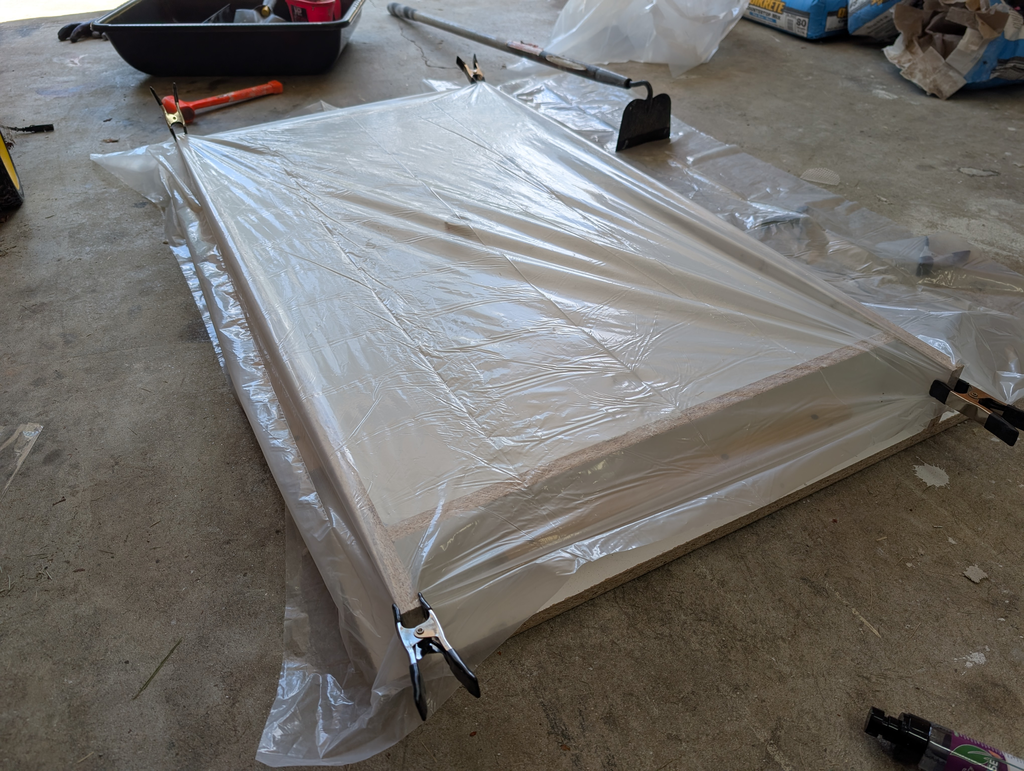
Now the concrete must cure and set. I wound up pouring the mix much wetter than I should have, a consequence of me hand-mixing the concrete and trying to get the right mix of wet to dry, and not realizing that the concrete mix has a lot of “plasticizer” in it. From my estimates, it will need at least 2 weeks before fully un-molding and removing, with another couple weeks to finish curing. So… see you all in a month!