I’ve been experimenting with running large-language-models on my own hardware for a few months now. Up until this point I’ve been getting by with an older Dell Optiplex workstation of some sort with an Nvidia 3060 GPU. Now this isn’t a terrible setup, but token generation speeds were extremely slow, especially with even moderately sized context windows.
So I decided to make an upgrade to an Intel Arc B70 GPU, which offers a phenomenal 32gb of VRAM. A significant improvement over the 12gb the 3060 contained.
However, compatibility issues pushed me into (almost) an entirely new build, which now utilizes the B70, llama.cpp and given current component prices, wound up being a decent price.
This is not a guide!
This is not meant to be a guide or walkthrough, but rather just a rough overview of the steps I took to accomplish my goals.
The Old and Busted
The Dell Optiplex this whole thing started with was actually my very first “homelab” server. It did beautifully for a few years until I got some more experience and knowledge how I wanted things to operate. In the last few months it’s served admirably with the addition of the 3060 GPU.
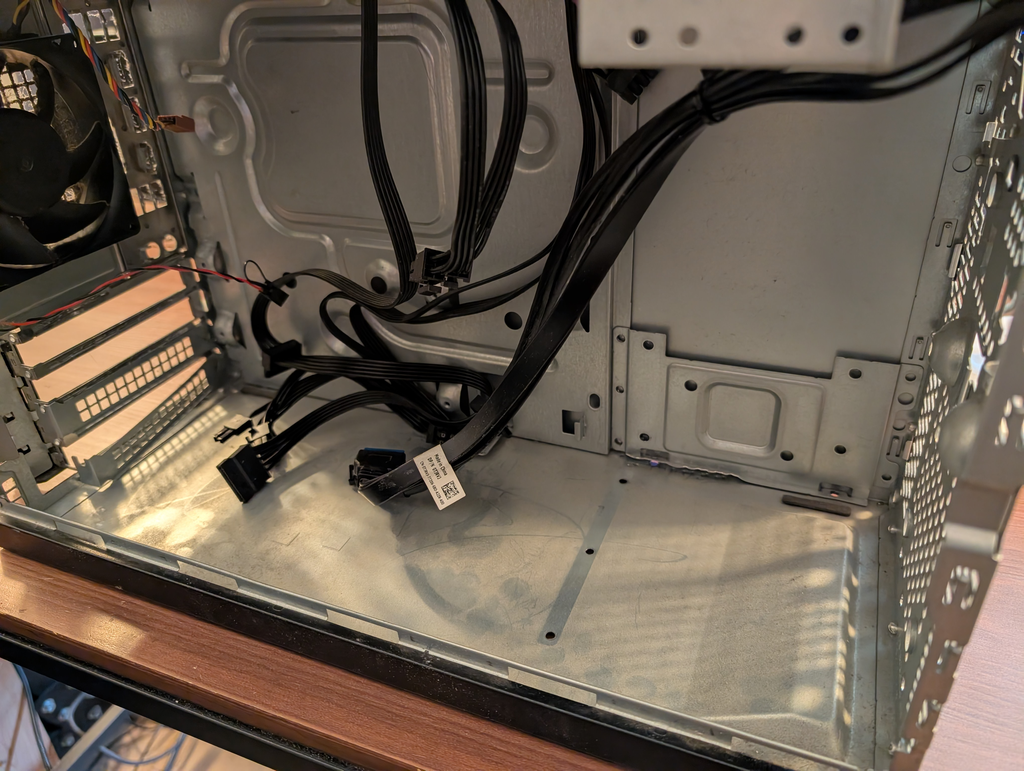
But upgrading to the B70 already presented issues, a hard drive cage was riveted into place right where the GPU needed to go

Removing the components at least gave me a good reason to clean everything out, and after drilling out the rivets on the hard drive cage and removing it (this computer would use an NVMe drive on the motherboard anyways), the case was ready for the new card
I powered the machine on and… it booted straight to the BIOS screen. No matter what I did it would always boot to BIOS. Bootable media, installed OS, PXE boot, none of it would do anything except go straight to the BIOS.
It was then I stepped back and looked at the actual specs. This Optiplex workstation is old in computer terms, practically ancient. It’s also a PCIe 3.0 system! Now the PCIe standard should be backwards compatible, and at least hardware wise the GPU should absolutely work in the system (albeit with potentially decreased performance).
However, it seems the Intel card requires a PCIe feature called ReBAR (Resizable BAR): https://www.intel.com/content/www/us/en/support/articles/000090831/graphics.html this is something that’s just not available on PCIe 3.0
Whole New System (Almost)
I wanted to try and keep things as “budget friendly” as possible. I was already reeling at the price of the GPU itself, which in the current landscape of GPU prices was a bargain at around $1,000. But I wanted a system supporting PCIe 5.0, while also utilizing DDR4 RAM. This was so I could repurpose the RAM used in the Optiplex tower, saving me from needing to purchase (currently) very expensive DDR5 RAM.
This narrowed down motherboard options, but I found one that ticks almost all the boxes, minus a couple small points.
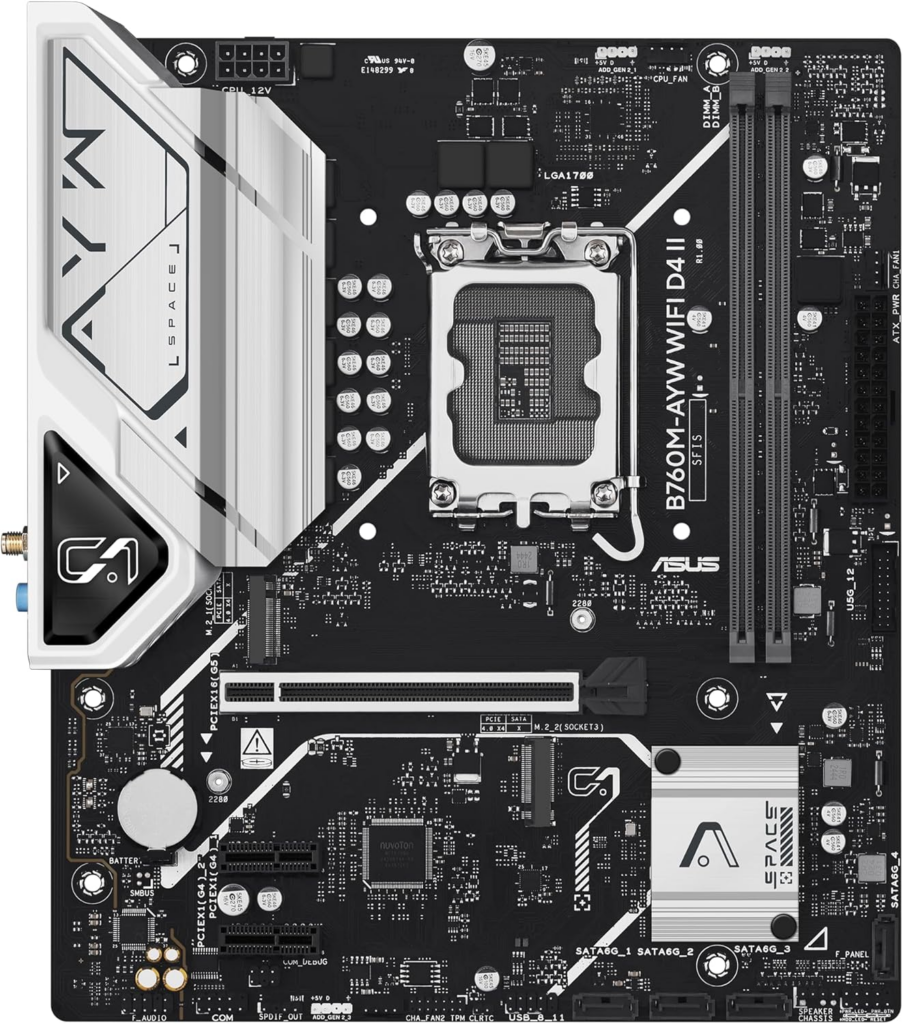
The ASUS B760M-AYW WiFi D4, a PCIe 5.0 board supporting Intel LGA1700 CPUs and using DDR4 RAM. I could reuse the RAM and NVMe drive out of the Optiplex to save a little bit of money, and utilize a slightly older CPU, as I’m not expecting heavy CPU utilization here.
So what’s the downsides? Well the two main things are that I’m down to just two RAM slots and a single GPU slot. I’m not sure how realistic it would have been, but a second GPU slot could have potentially opened up running multiple models, for example keeping the 3060 in the system might have allowed for a second model doing just image generation (which the Nvidia card should still perform somewhat well on). And the RAM slots for, well, less RAM.
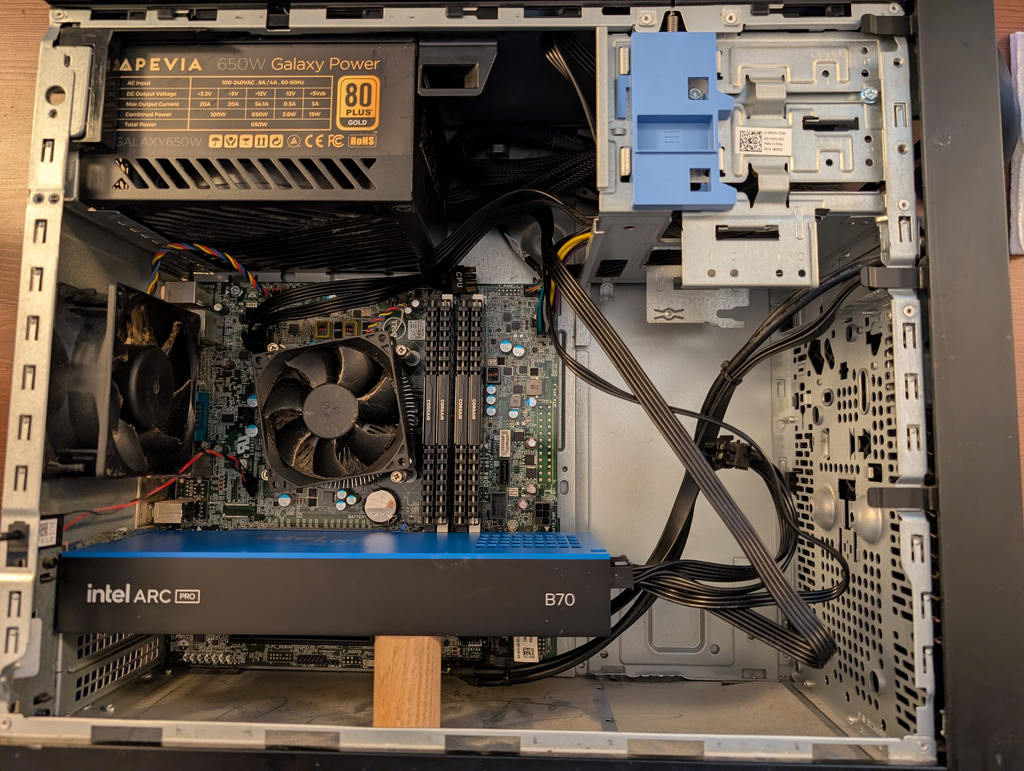
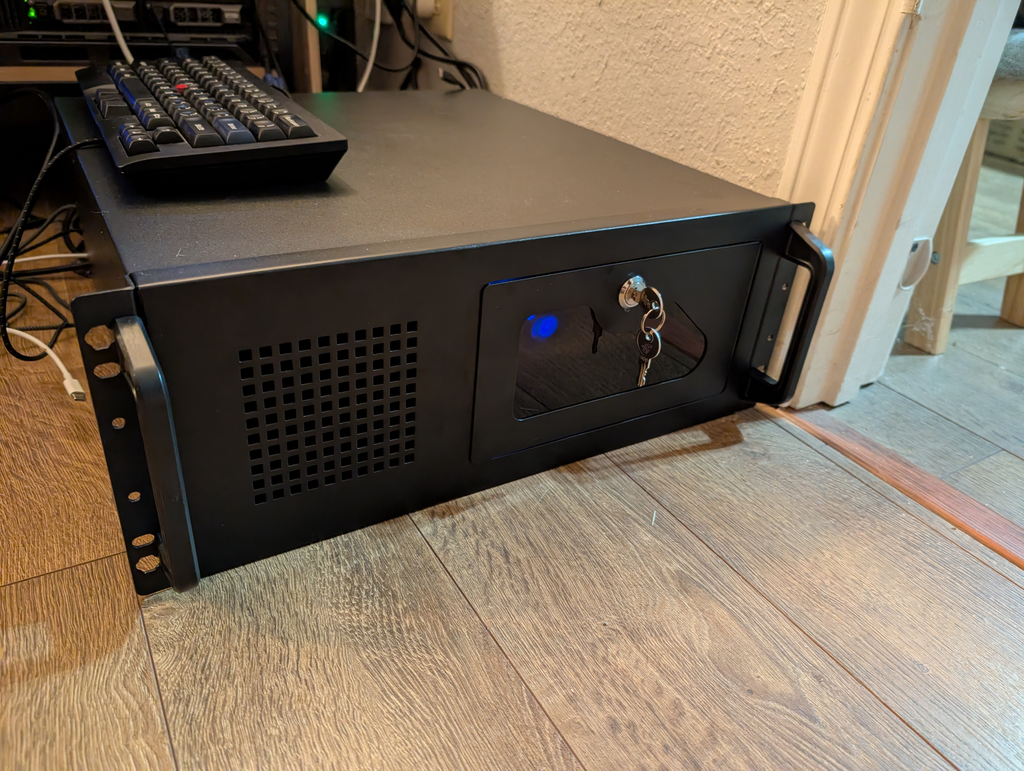
As it stands it’s a very capable little box however. A 12th gen Intel core i5 12400, 32gb of RAM (salvaged from the old server), the Intel Arc B70 GPU and all packaged up nicely in a nice rack-mountable case
Power Usage
Power usage (at least thus far) has not been too bad. This smart outlet is monitoring both my “daily driver” desktop computer (most of the consumption in that 6:30-11:30am window) and the remaining spike seems to be the new machine.
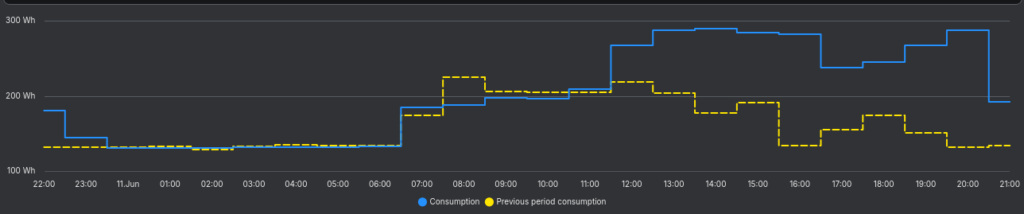
However it’s still amusing to me that you can see when I get up and start using the computer and when the new machine is kicked on for the first time.
Cost
I did not keep a super close eye on the money spent, I tried to be as budget conscious as possible but I had a goal to increase the speed of my local LLM and give me a wider test bed for learning.
My numbers are very rough, but overall break down to:
- Intel Arc B70 Pro – $1,000 (Microcenter)
- Asus motherboard – $100 (Amazon)
- Intel i5-12400 – $214 (Amazon)
- Rosewill rackmount case – $116 (Amazon)
- 32gb Corsair DDR4 RAM – repurposed
- 850w Power Supply – repurposed
Conclusion
This was just a brief overview of tackling the hardware issues with this little project. Next I’ll show how I got the software setup (at least for initial testing and verification)